HEALER

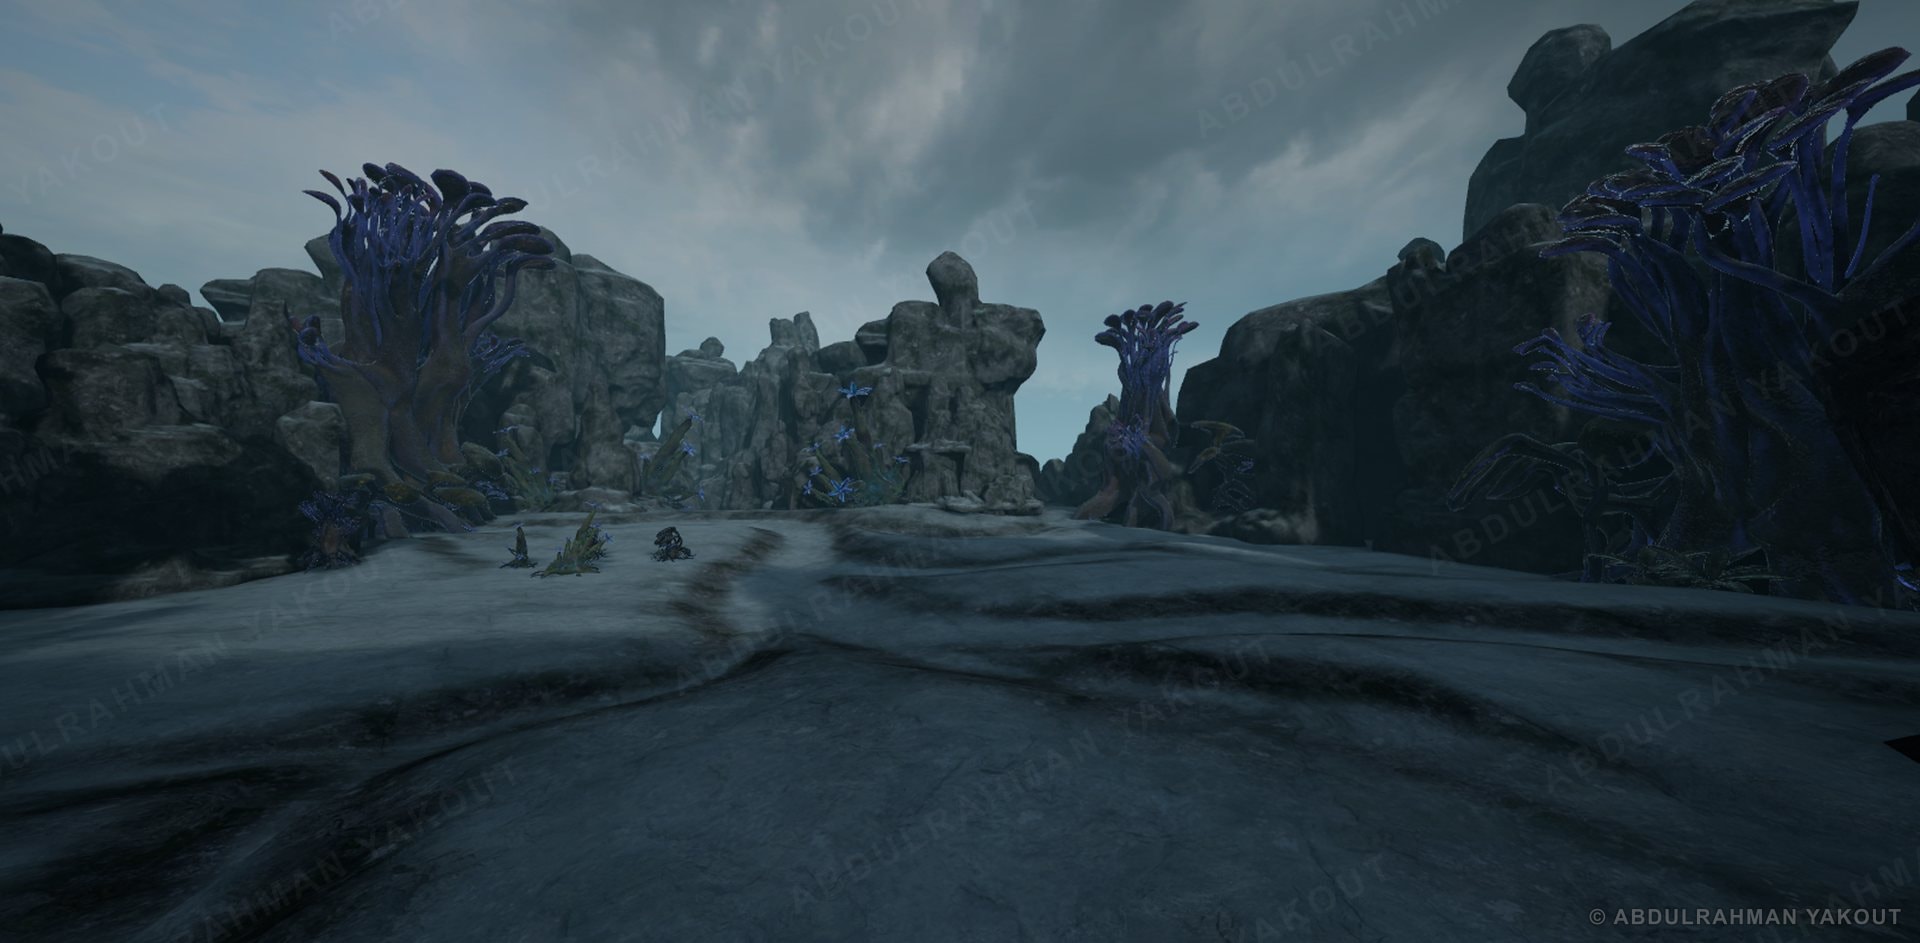
Converted a cinematic-quality environment into a playable level running at a stable 72 fps on Meta Quest.

The conversion covered geometry, materials and Blueprints, plus performance profiling to keep the frame-time graph stable.
Conclusion

The short version See the full breakdown →

Film-quality art, made light enough for VR

1The problem

One hero prop alone was 1.8 million triangles, straight out of the cinematic build.

2What I built

A repeatable pipeline, run on batches of about 20 assets: bake the detail into textures, pack the maps, blend two materials.

3The result

About 20 thousand triangles per prop, the detail kept, and a steady 72 fps on Meta Quest 3.

The workflow · one pass over about 20 assets ↺ then repeat for the next batch
  1. 1 Geo pass

    A clean low poly and UVs for every asset in the batch.

  2. 2 Normal bake

    High to low: the detail is baked into a normal map.

  3. 3 Texture bake

    Edge, AO and slope masks baked from the high poly.

  4. 4 RGB packing

    The 3 masks share one texture: R edge, G AO, B slope.

  5. 5 Atlas 4 × 4

    16 packed masks (and their normals) go into one 2K atlas.

  6. 6 Material

    Two materials, a main and a slope one, blended by the masks.

  7. 7 Check

    Instruction counts and fps on Quest, then the next batch.

Why it holds up See the full breakdown →

Built to repeat, and to run on a whole library

Effective

Atlas · 2K · 4 × 4 · 16 masks
  • −98.8% triangles on the hero prop (1.8M to 20.9K)
  • 3 → 1 masks packed into one RGB texture
  • 16 → 1 mask textures merged into one 2K atlas
  • 2 materials, main + slope, blended by the masks
  • 72 fps steady on Meta Quest 3

Runs on the full library

≈80assets
  • Littoral
  • Ice
  • Forest
  • Wasteland

About 20 assets per environment, and every environment uses the same pipeline.

Works on any asset type

  • Rocks & cliffs
  • Crystals
  • Plants
  • Roots & trees
  • Organic props

The steps don't depend on what the asset is. Only the maps change.

Level Blueprint · takeaway See the full breakdown →

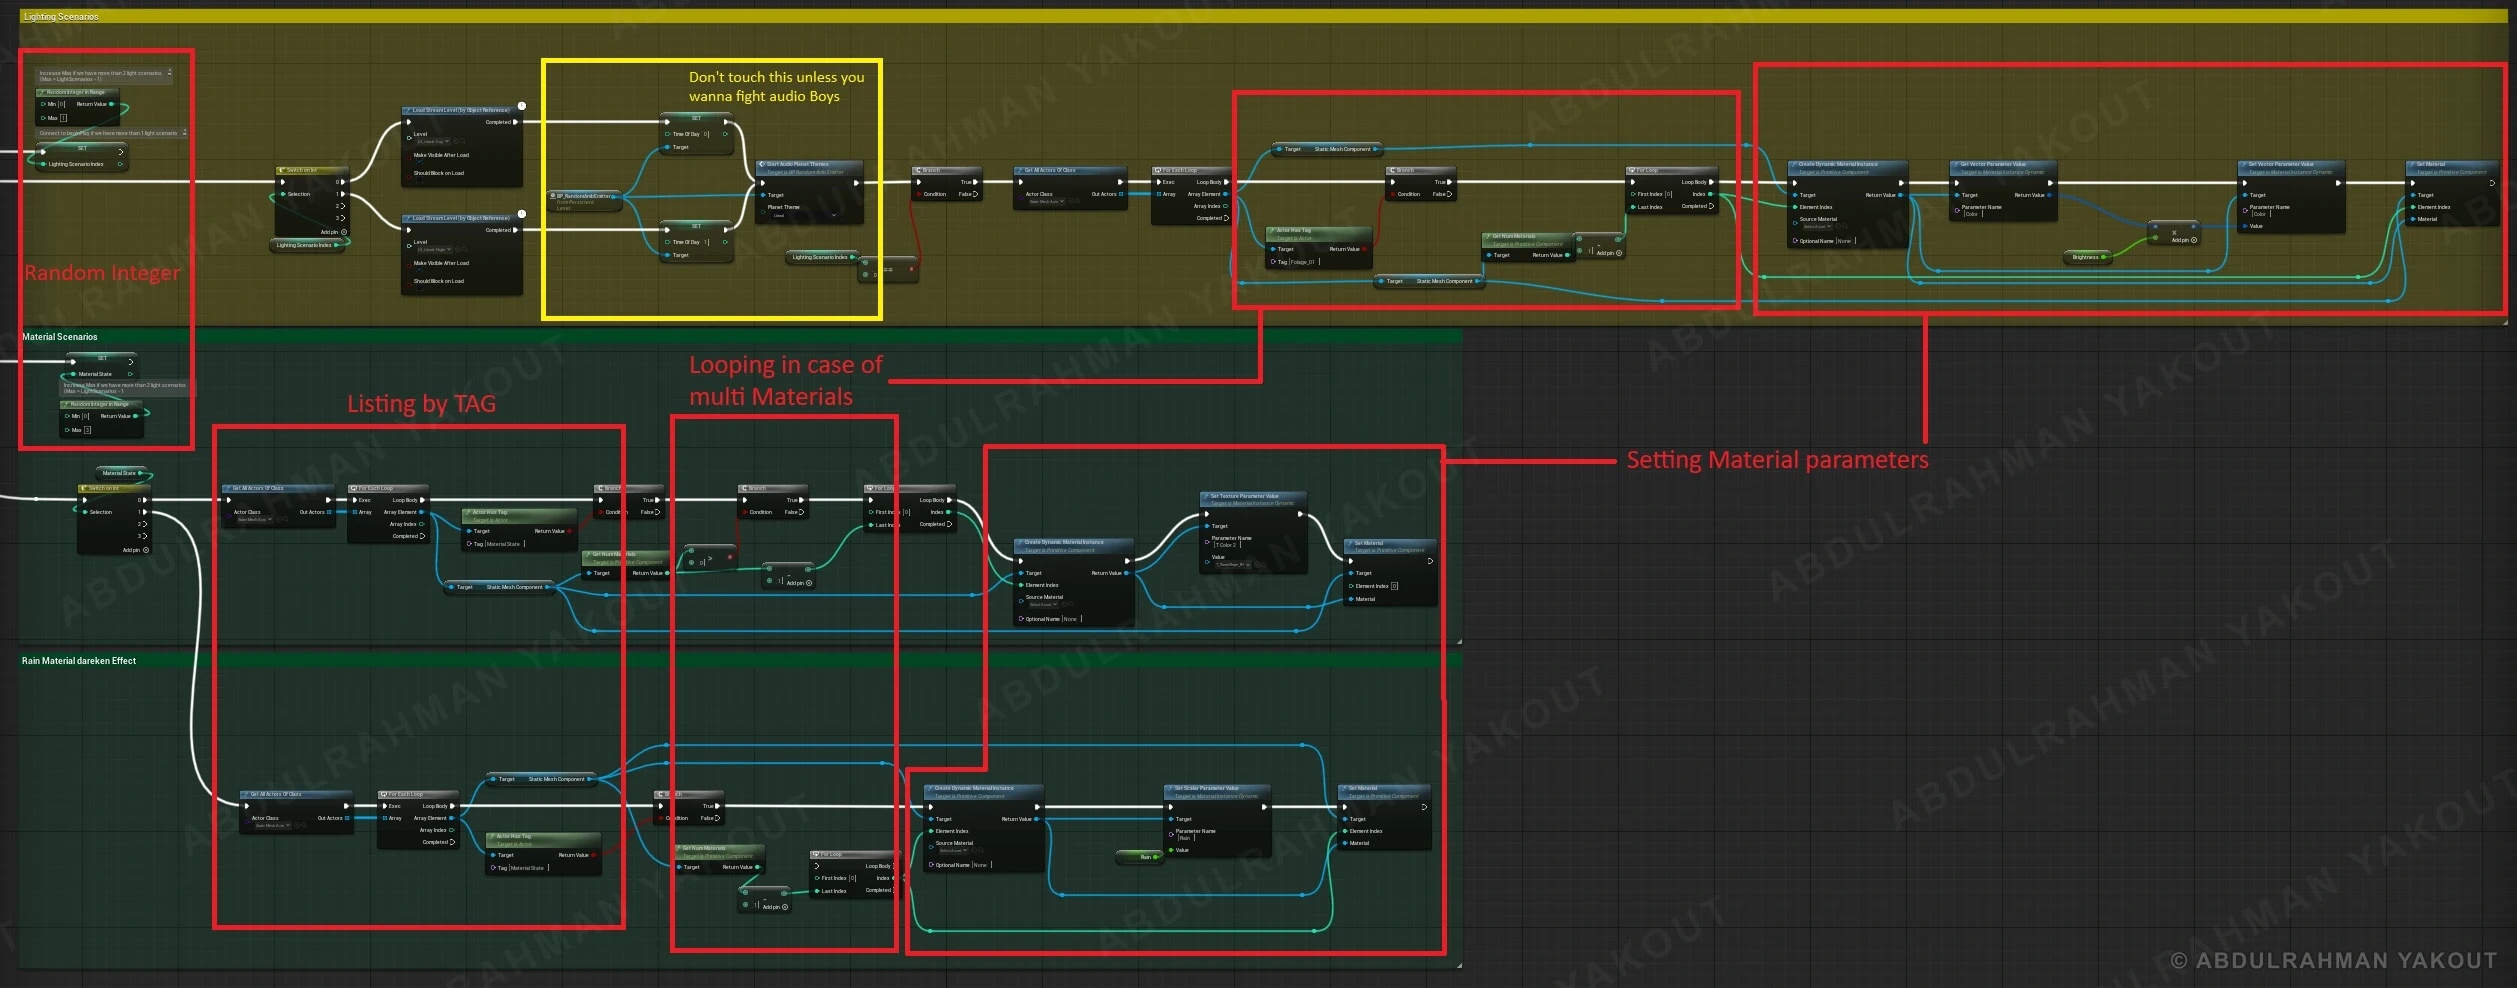
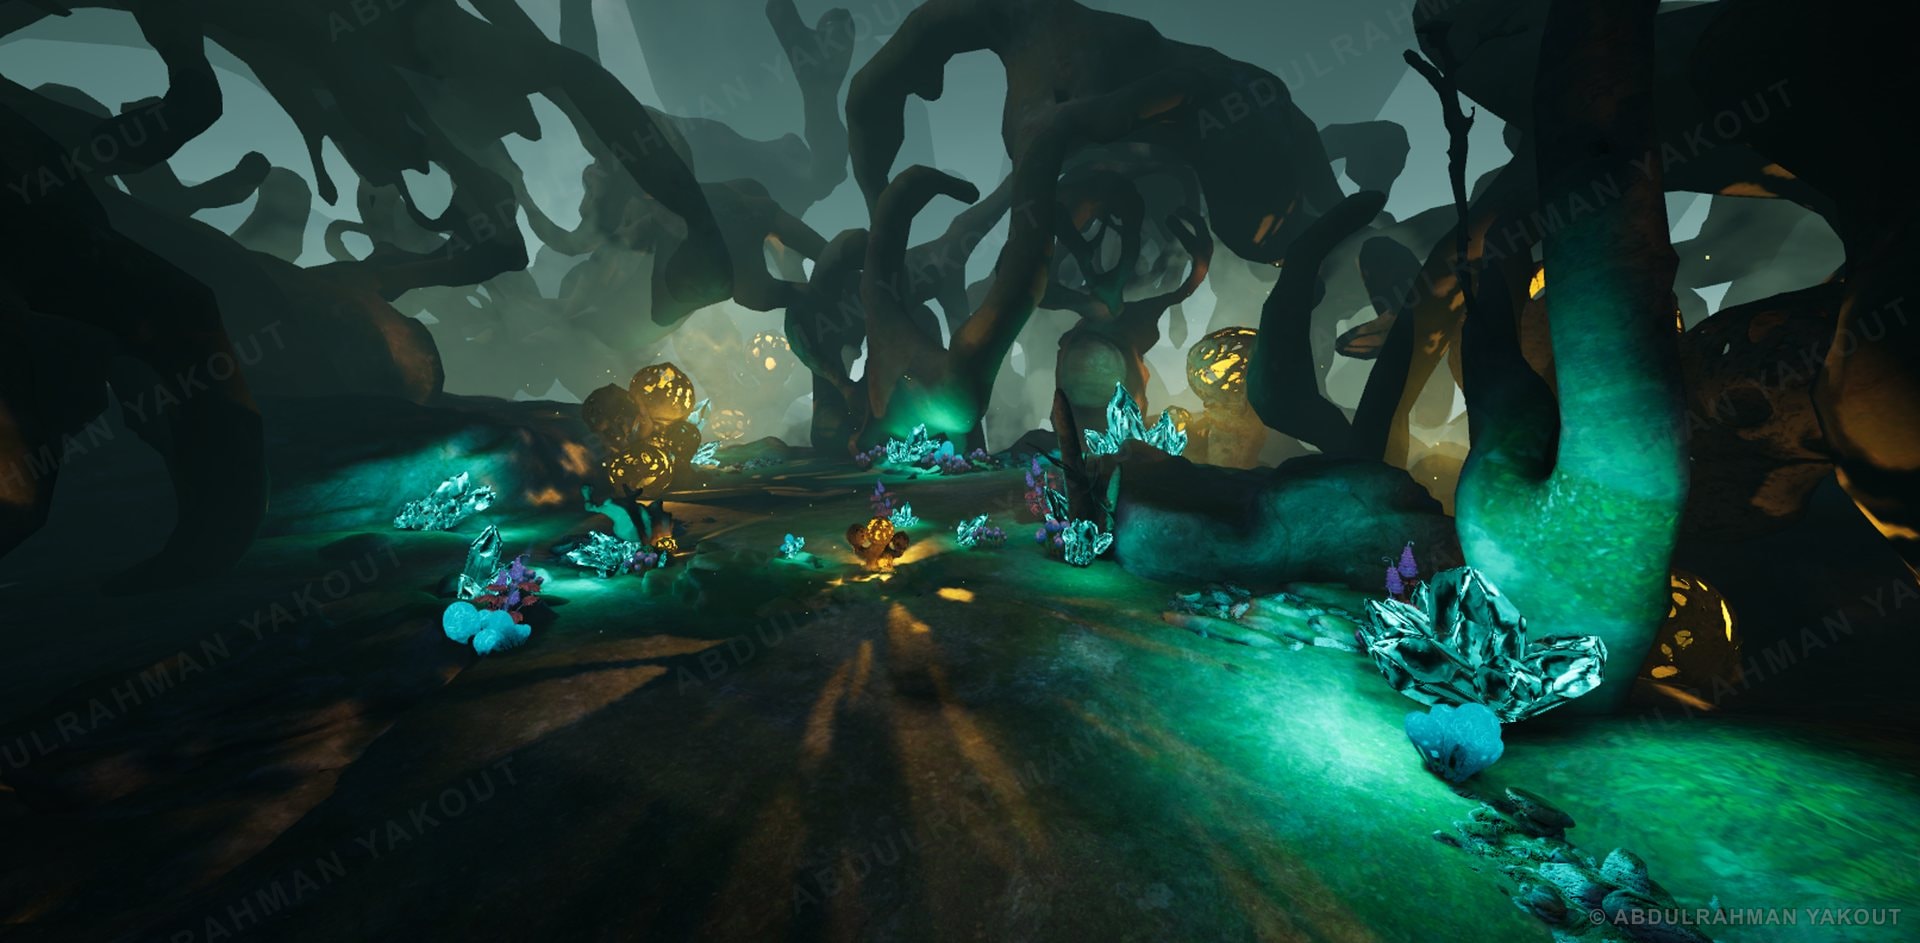
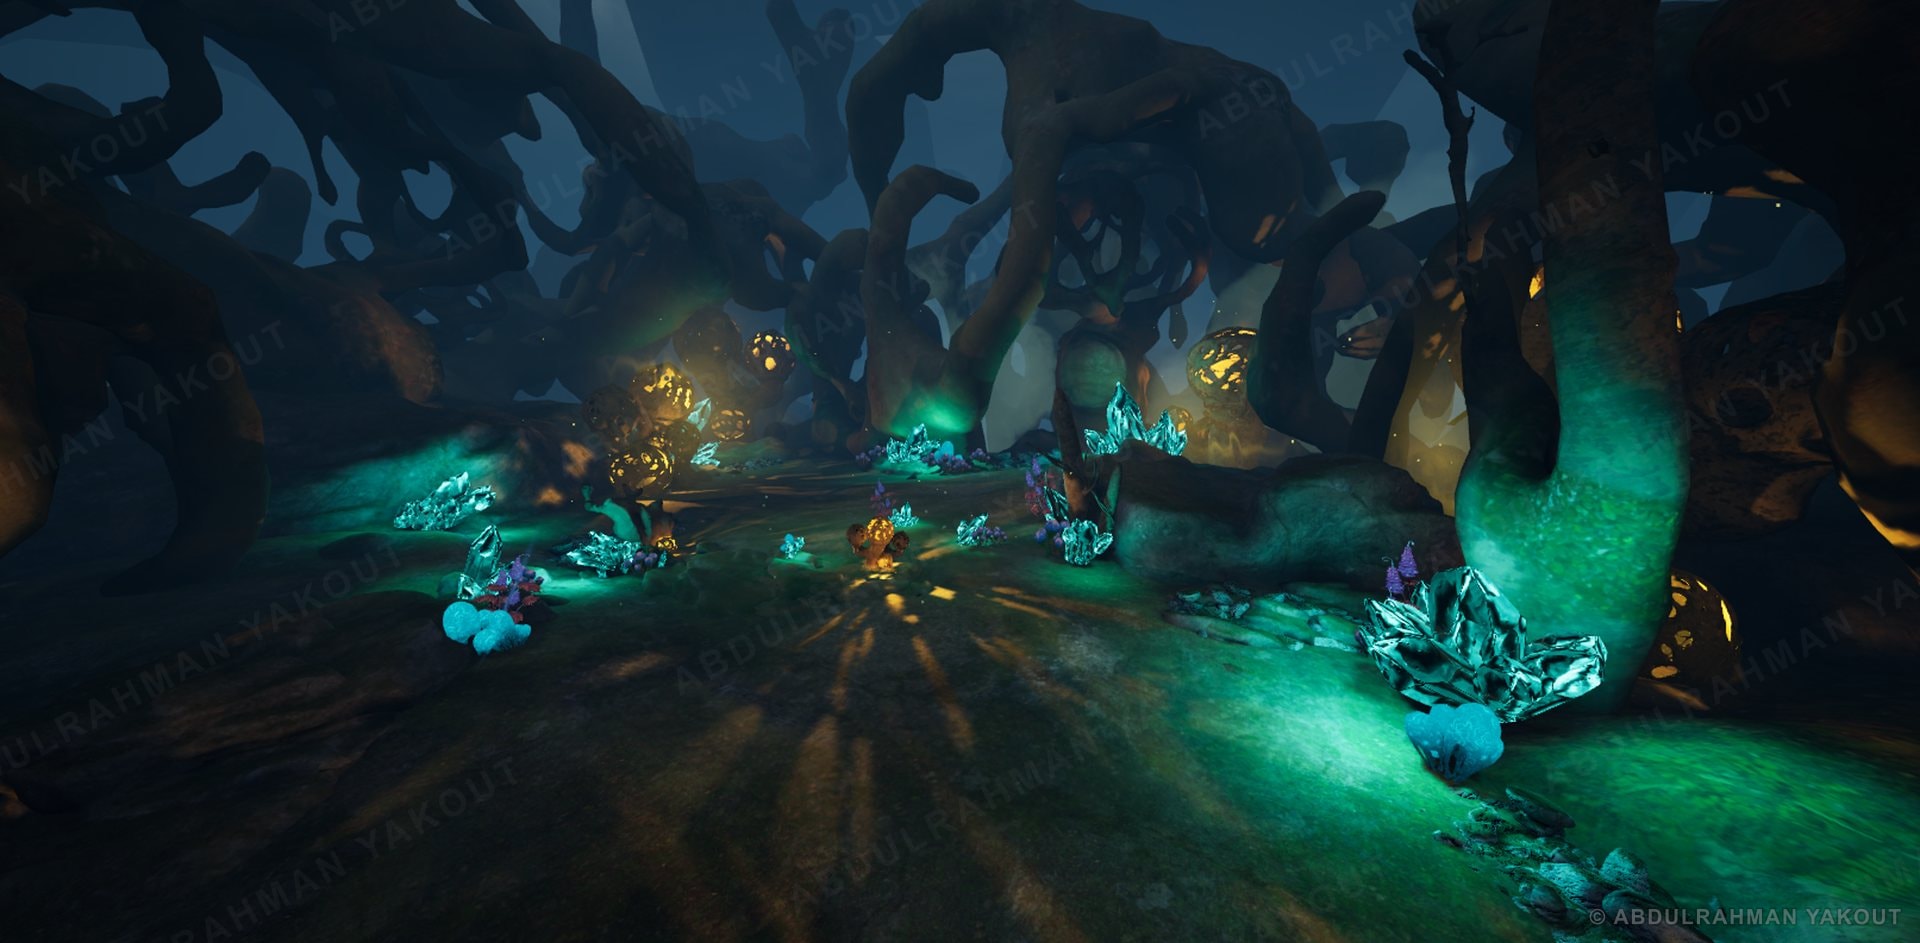
One Blueprint, four looks, every visit different

1The problem

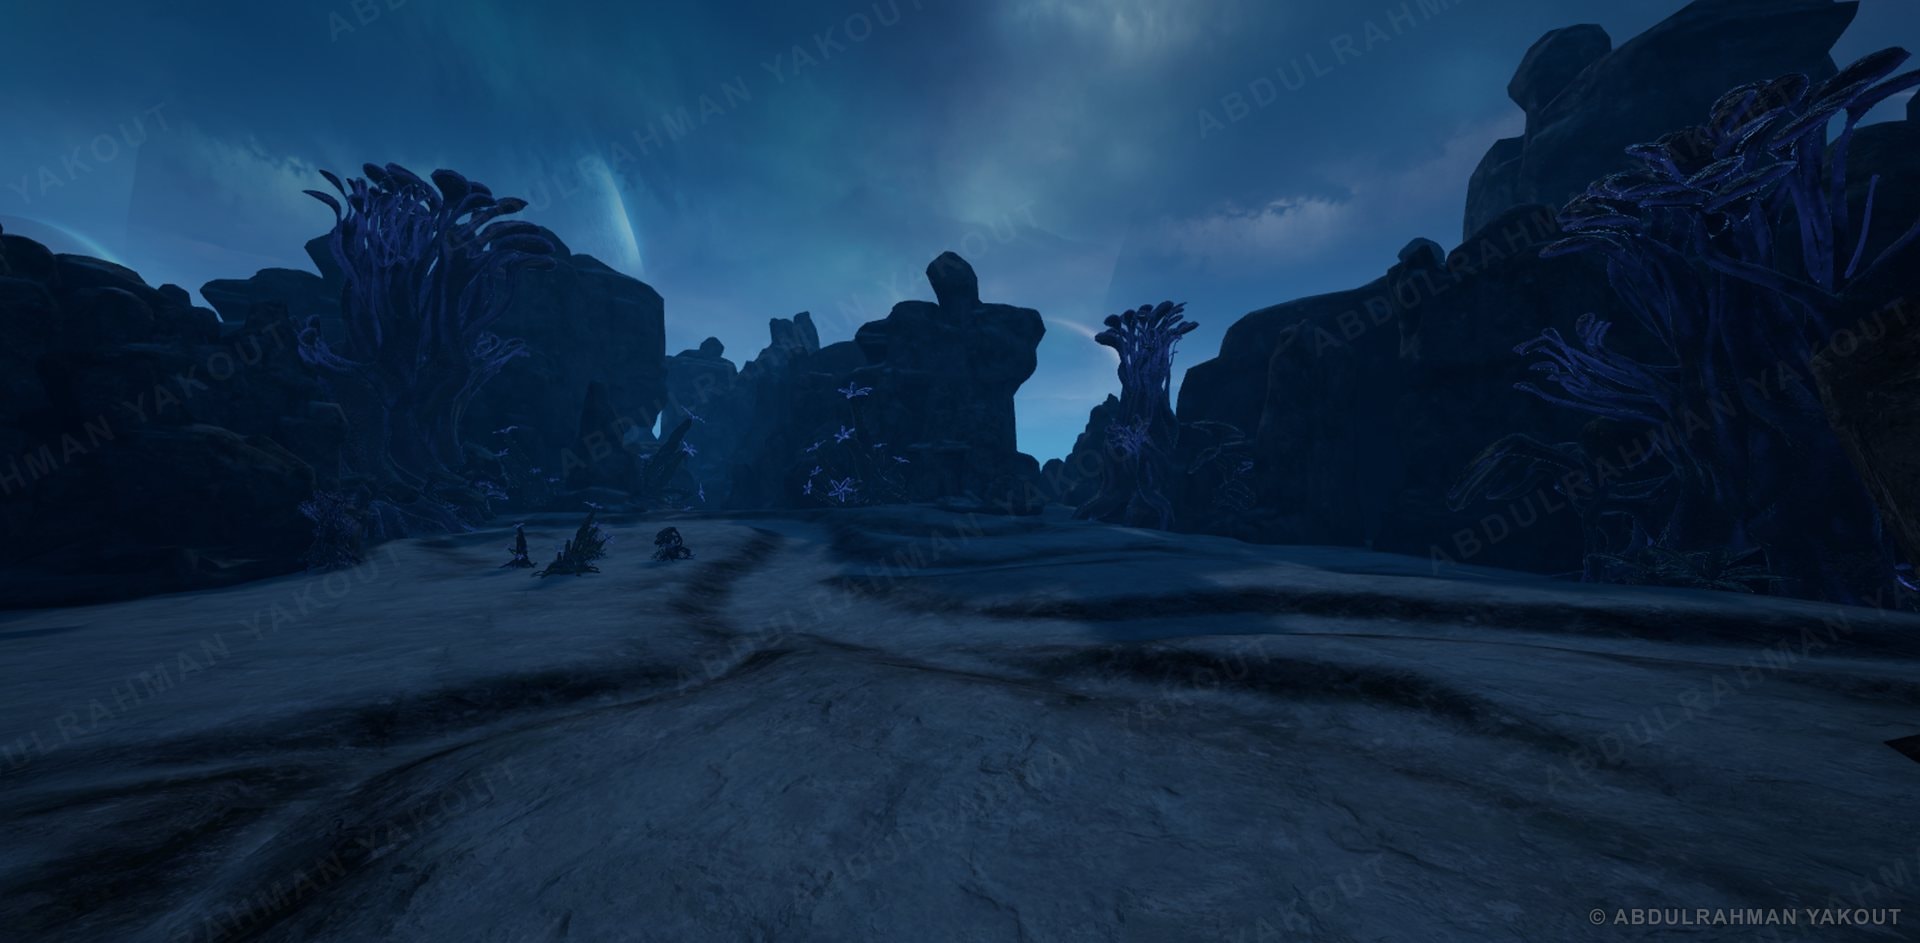
The same level had to read as four different moods, without a separate build for each one.

2What I built

A Level Blueprint that rolls a lighting scenario and a weather state each time the player enters, finds the right actors by tag and sets their material parameters.

3The result

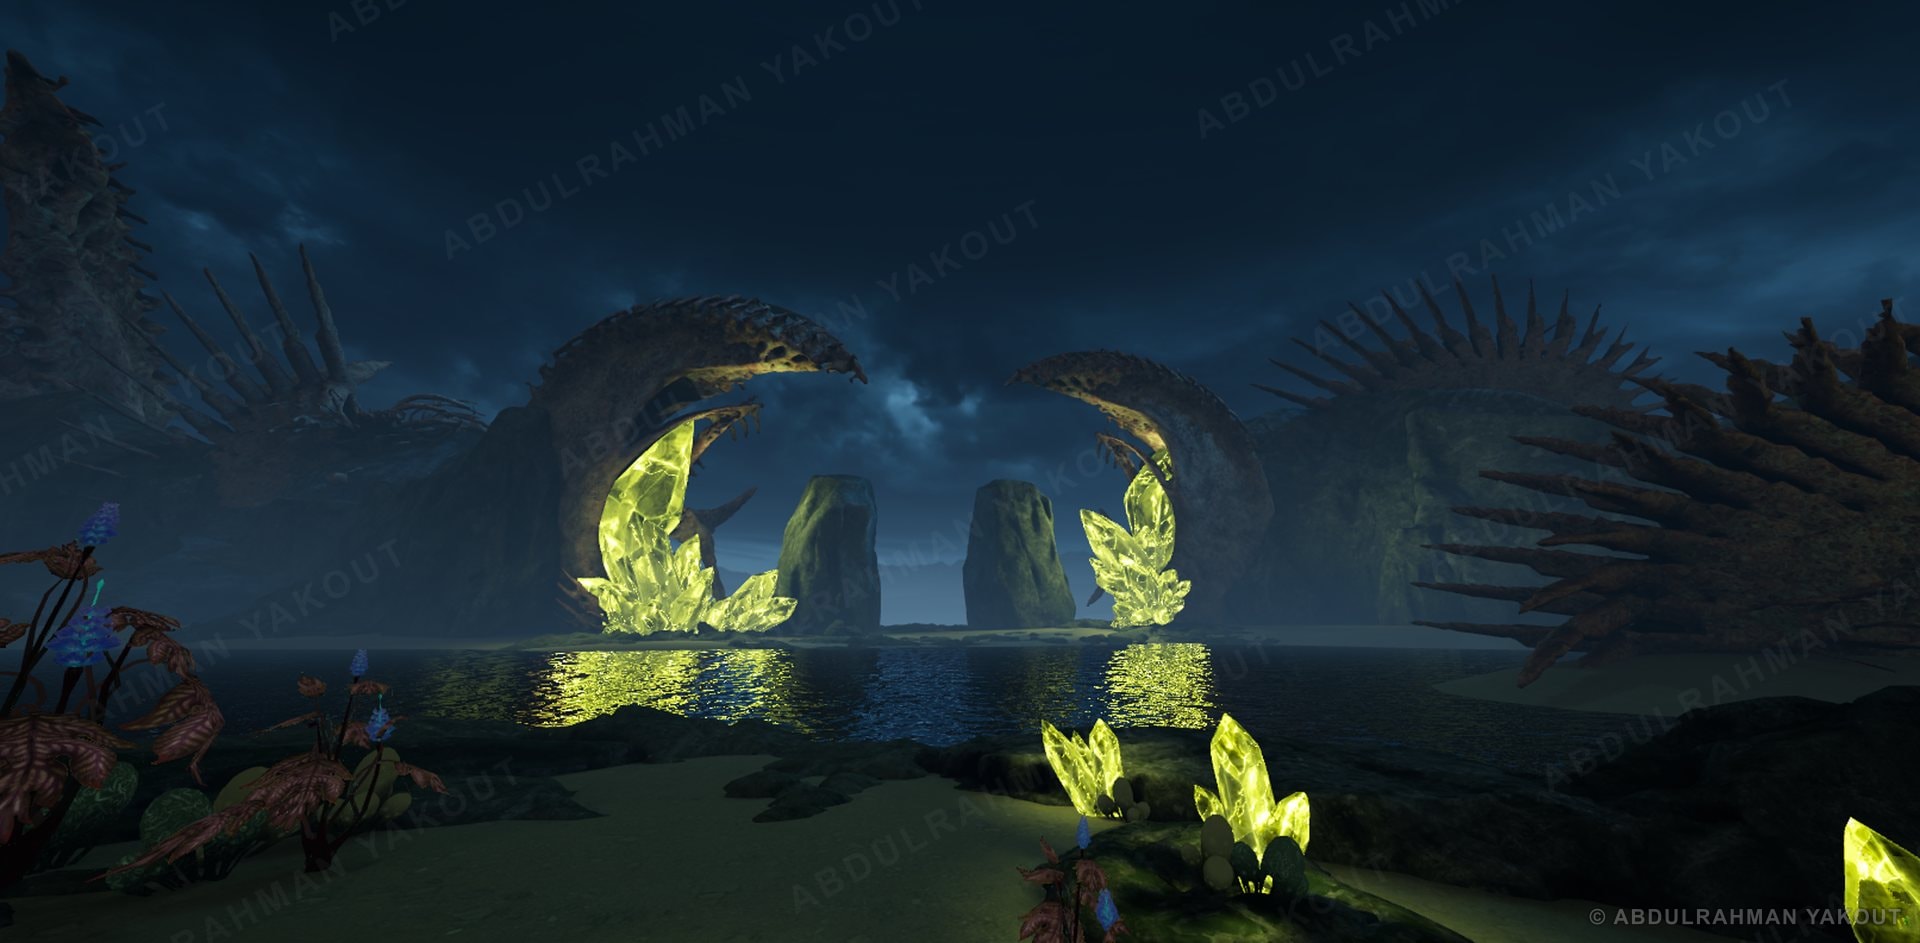
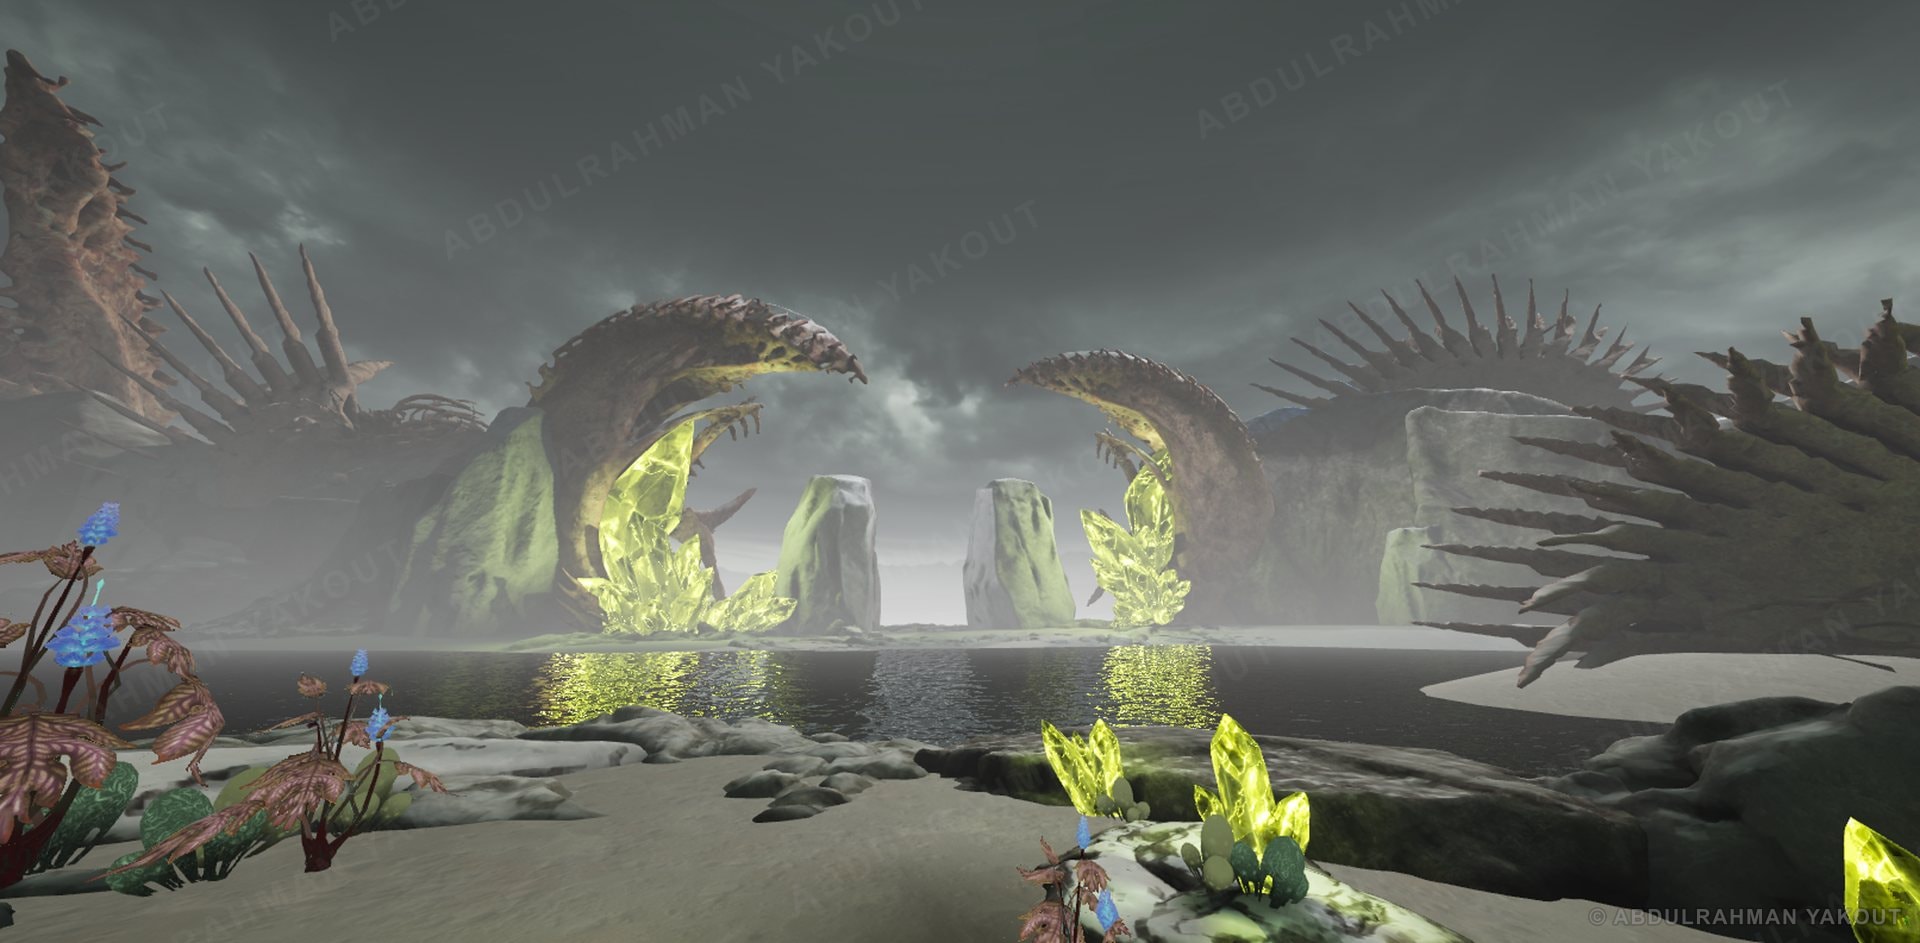
The same assets read as day, night, snowy day or snowy night, so the player feels the variation.

Lighting scenarios
2
Weather states
2
Looks per level
4
Material creation · takeaway See the full breakdown →

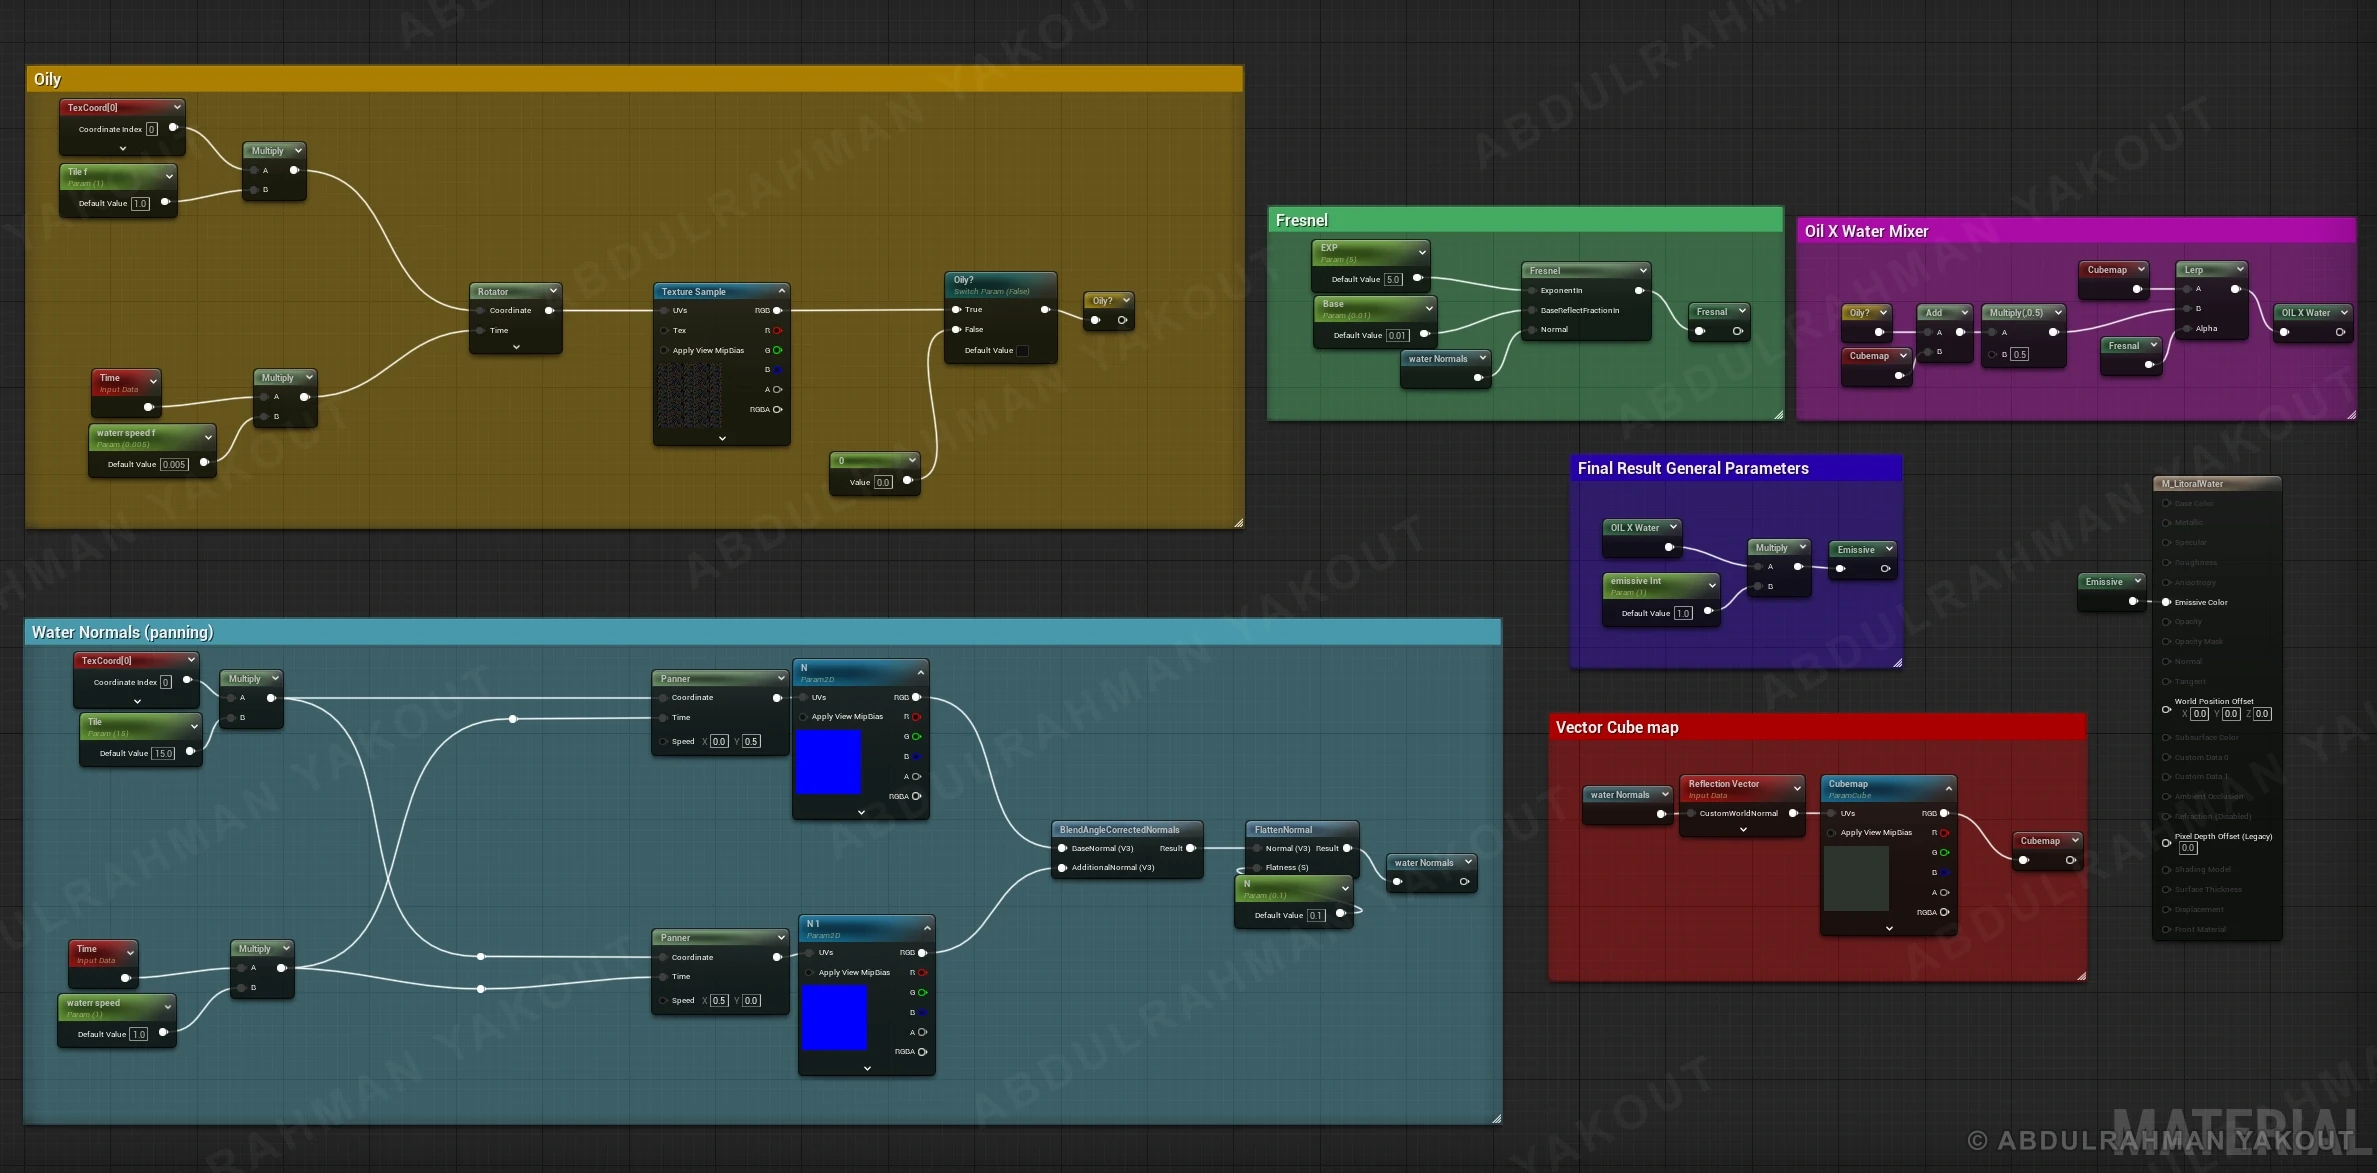
A convincing water surface for under 100 instructions

1The problem

Moving surface detail, a reflection and a sheen, on a headset with very little shader budget.

2What I built

One water material: two panning normal maps, a fresnel, a cubemap reflection and an oil layer mixed in, all exposed as parameters. It is unlit and emissive, so it renders in a single pass.

3The result

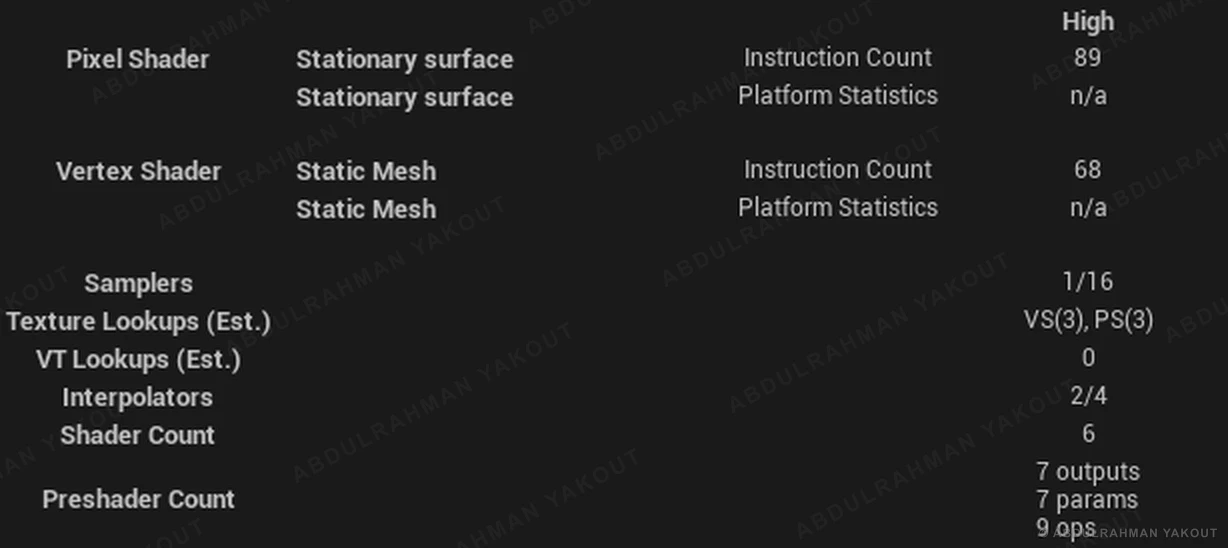
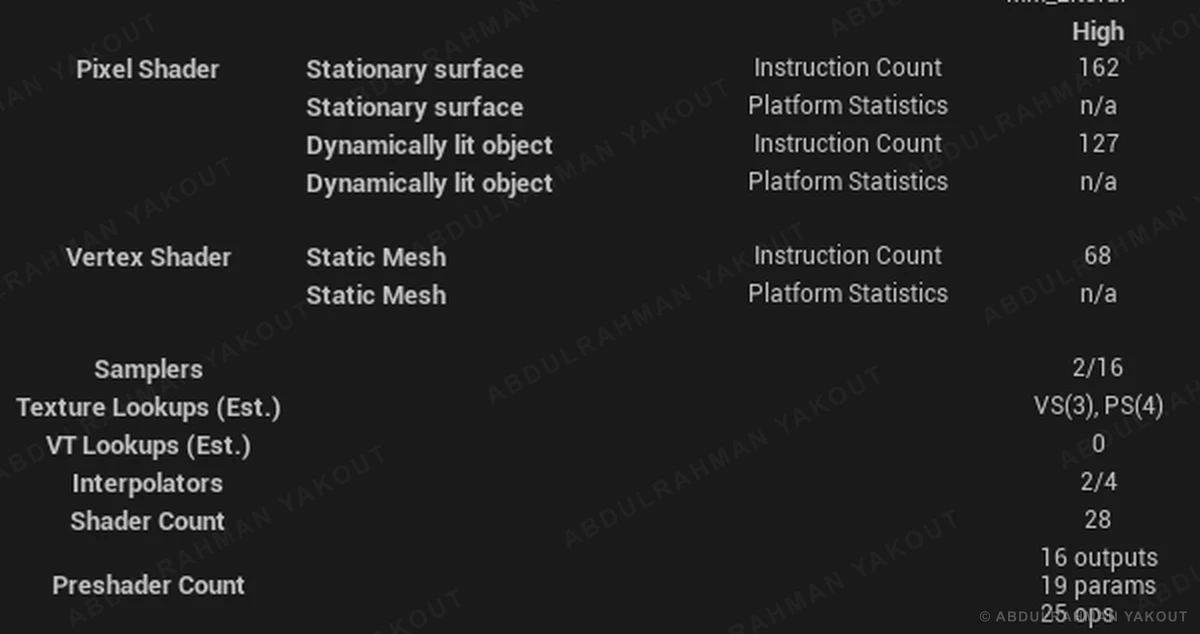
It renders in 89 pixel-shader instructions with a single sampler, and the look can be tuned without touching the graph.

Pixel instructions
89
Samplers
1 of 16
Shaders compiled
6
Performance profiling · takeaway See the full breakdown →

Fix what the profiler proves, then prove it again

1The problem

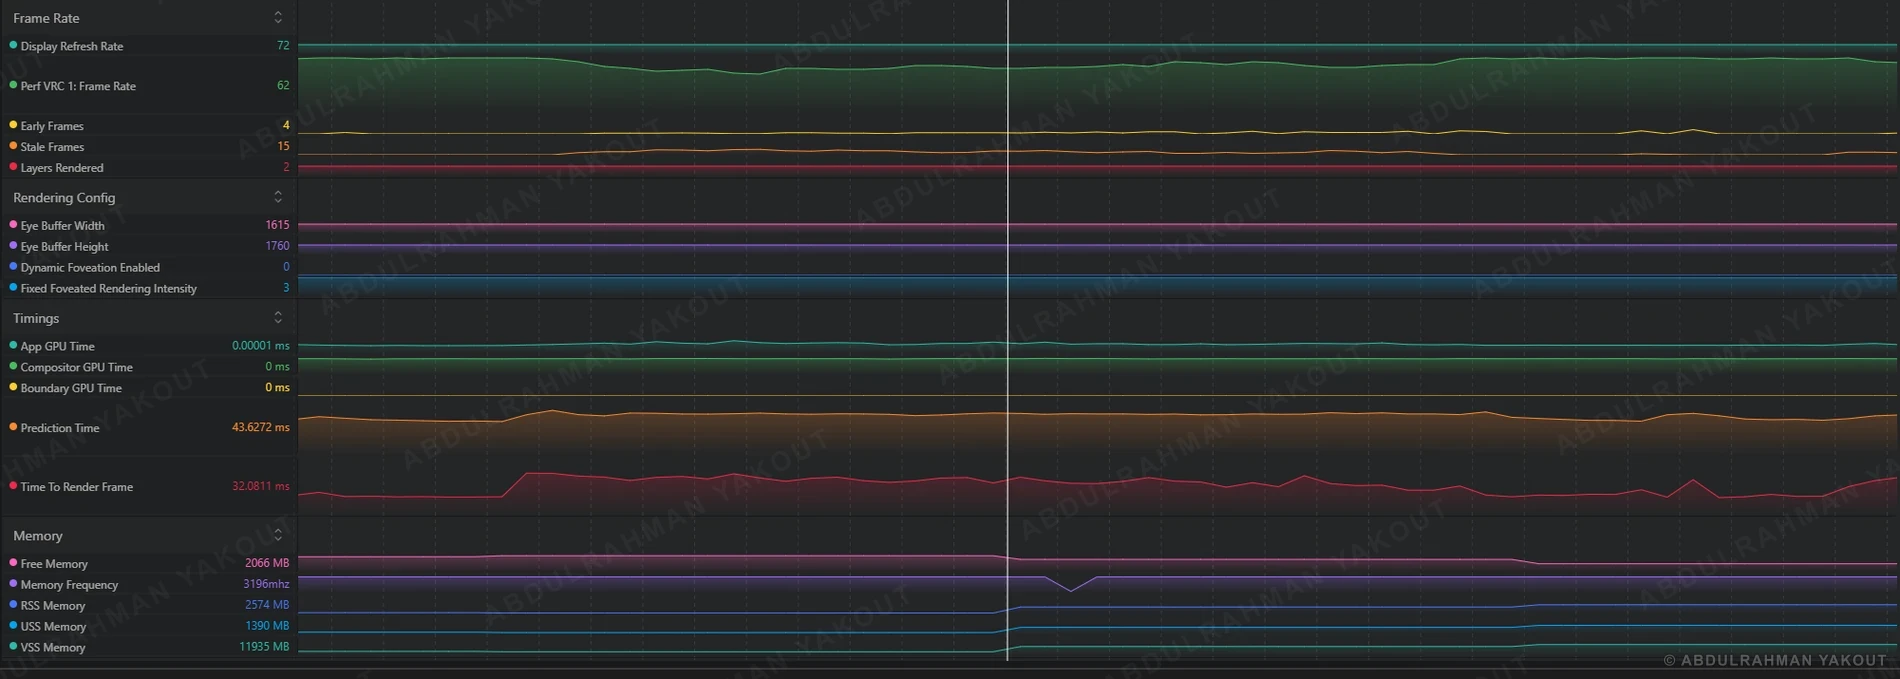
Spawning the orb pulled the frame rate down from the 72 fps target to 62.

2What I built

Profile, diagnose, fix, then profile again — frame time first, then the rest of the graphs.

3The result

The orb's material, unlit and emissive in a single render pass, dropped from 254 to 95 instructions and from 4 samplers to 1, and the headset holds 72 fps.

Pixel instructions
254→ 95
Samplers
4→ 1
Shaders
95→ 15
Frame rate
62→ 72 fps
Environments · takeaway See the full breakdown →

One pipeline, four different worlds

1The problem

One good level doesn't prove the pipeline holds up somewhere else.

2What I built

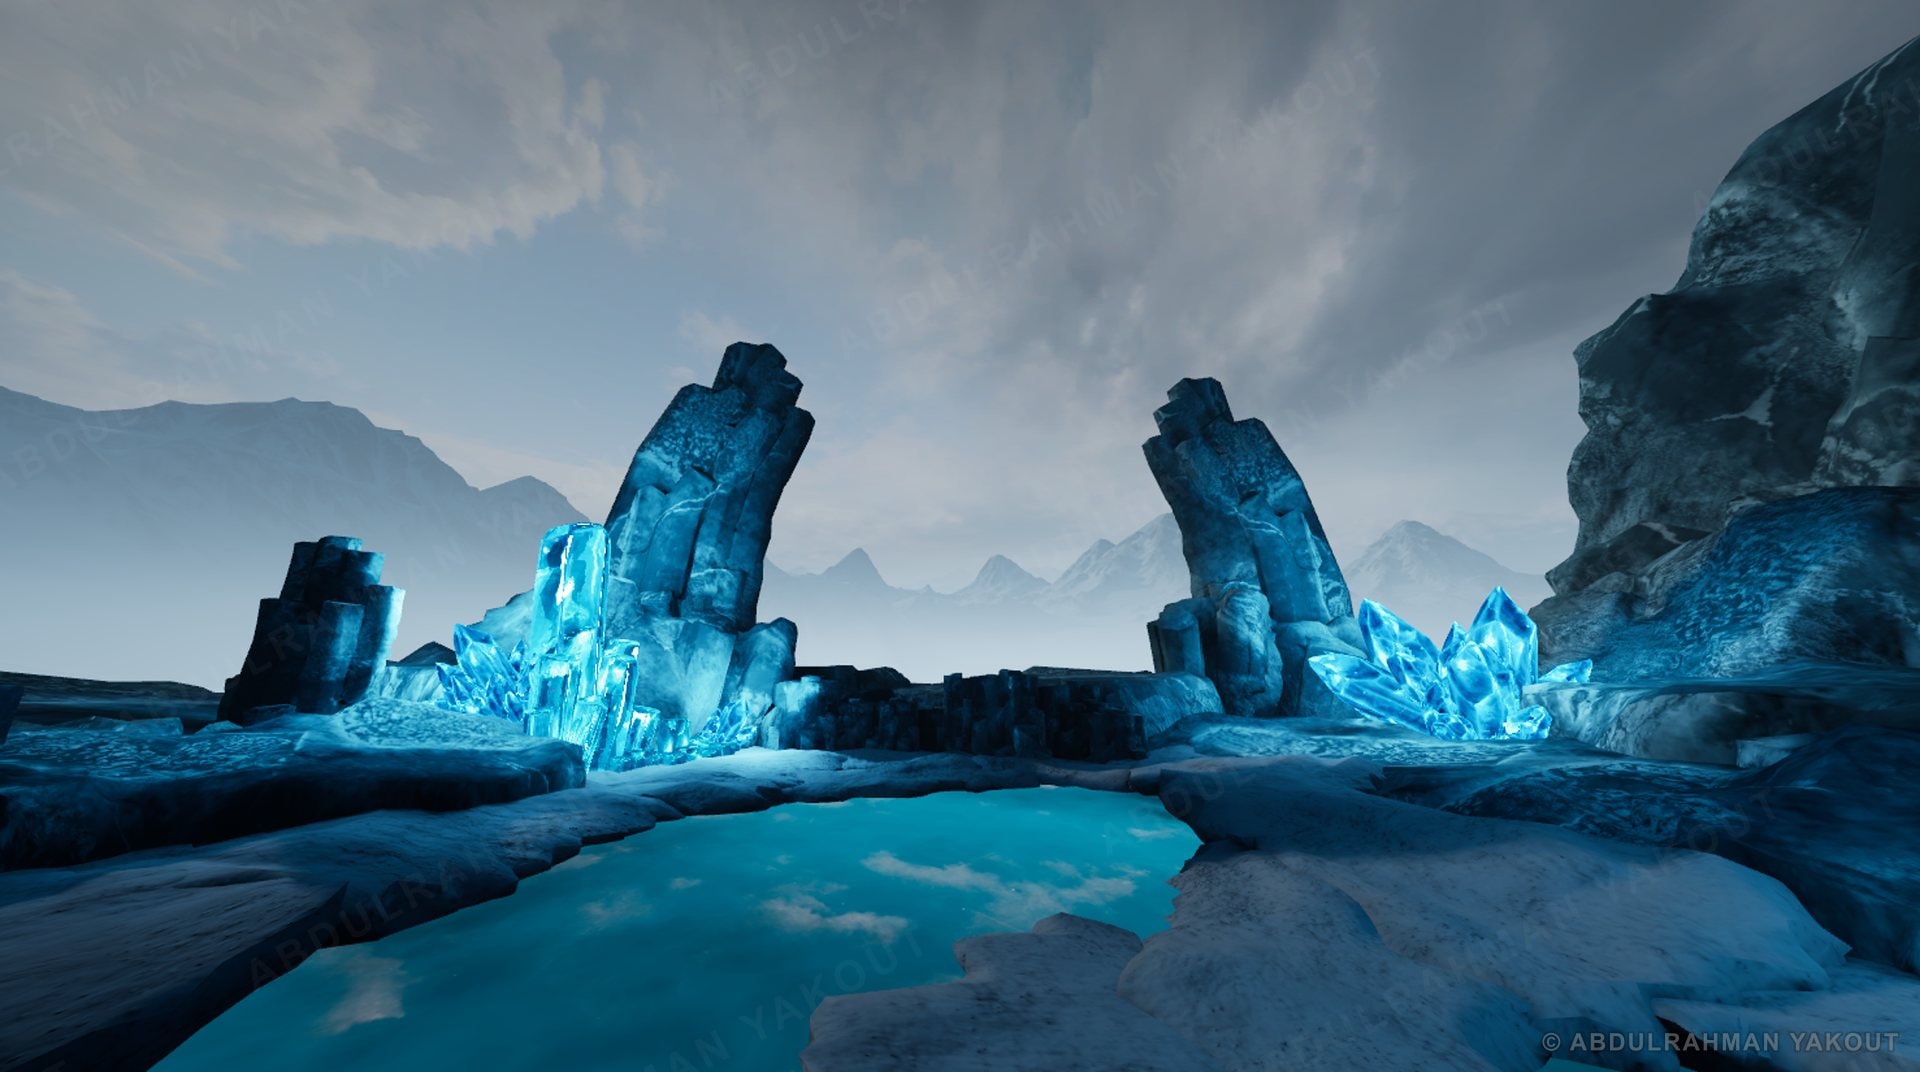
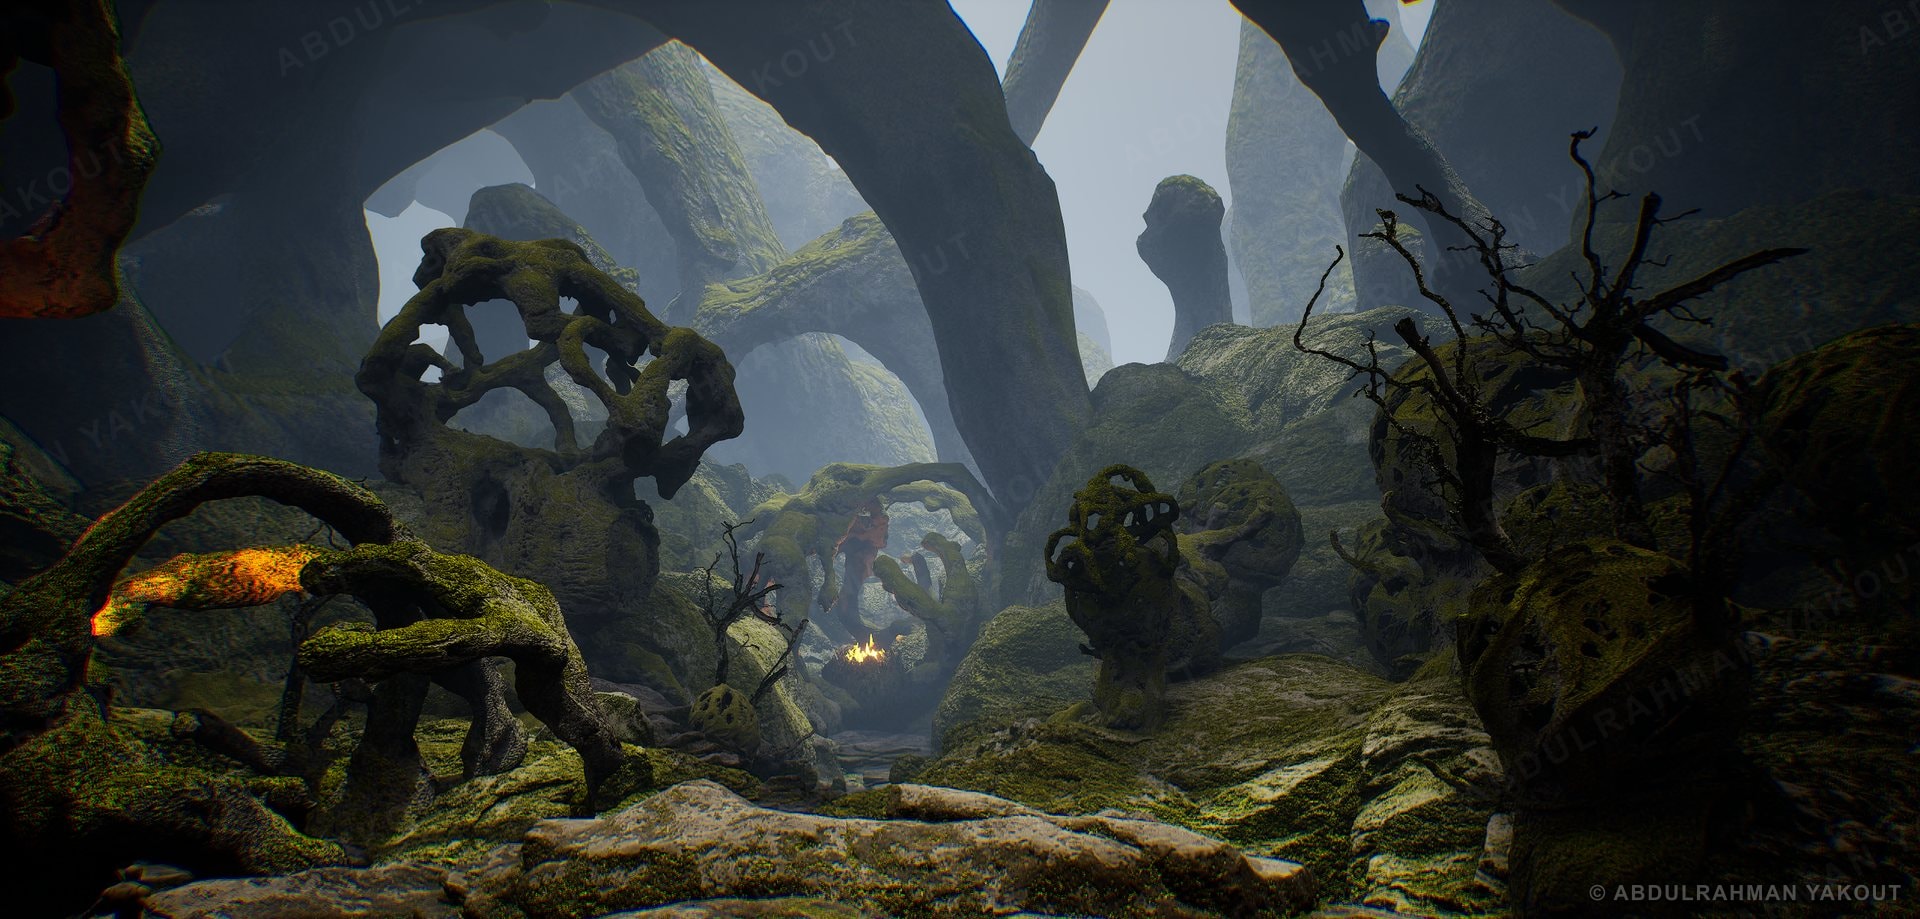
The same asset workflow, material logic and Blueprint drive Littoral, Ice, Forest and Wasteland.

3The result

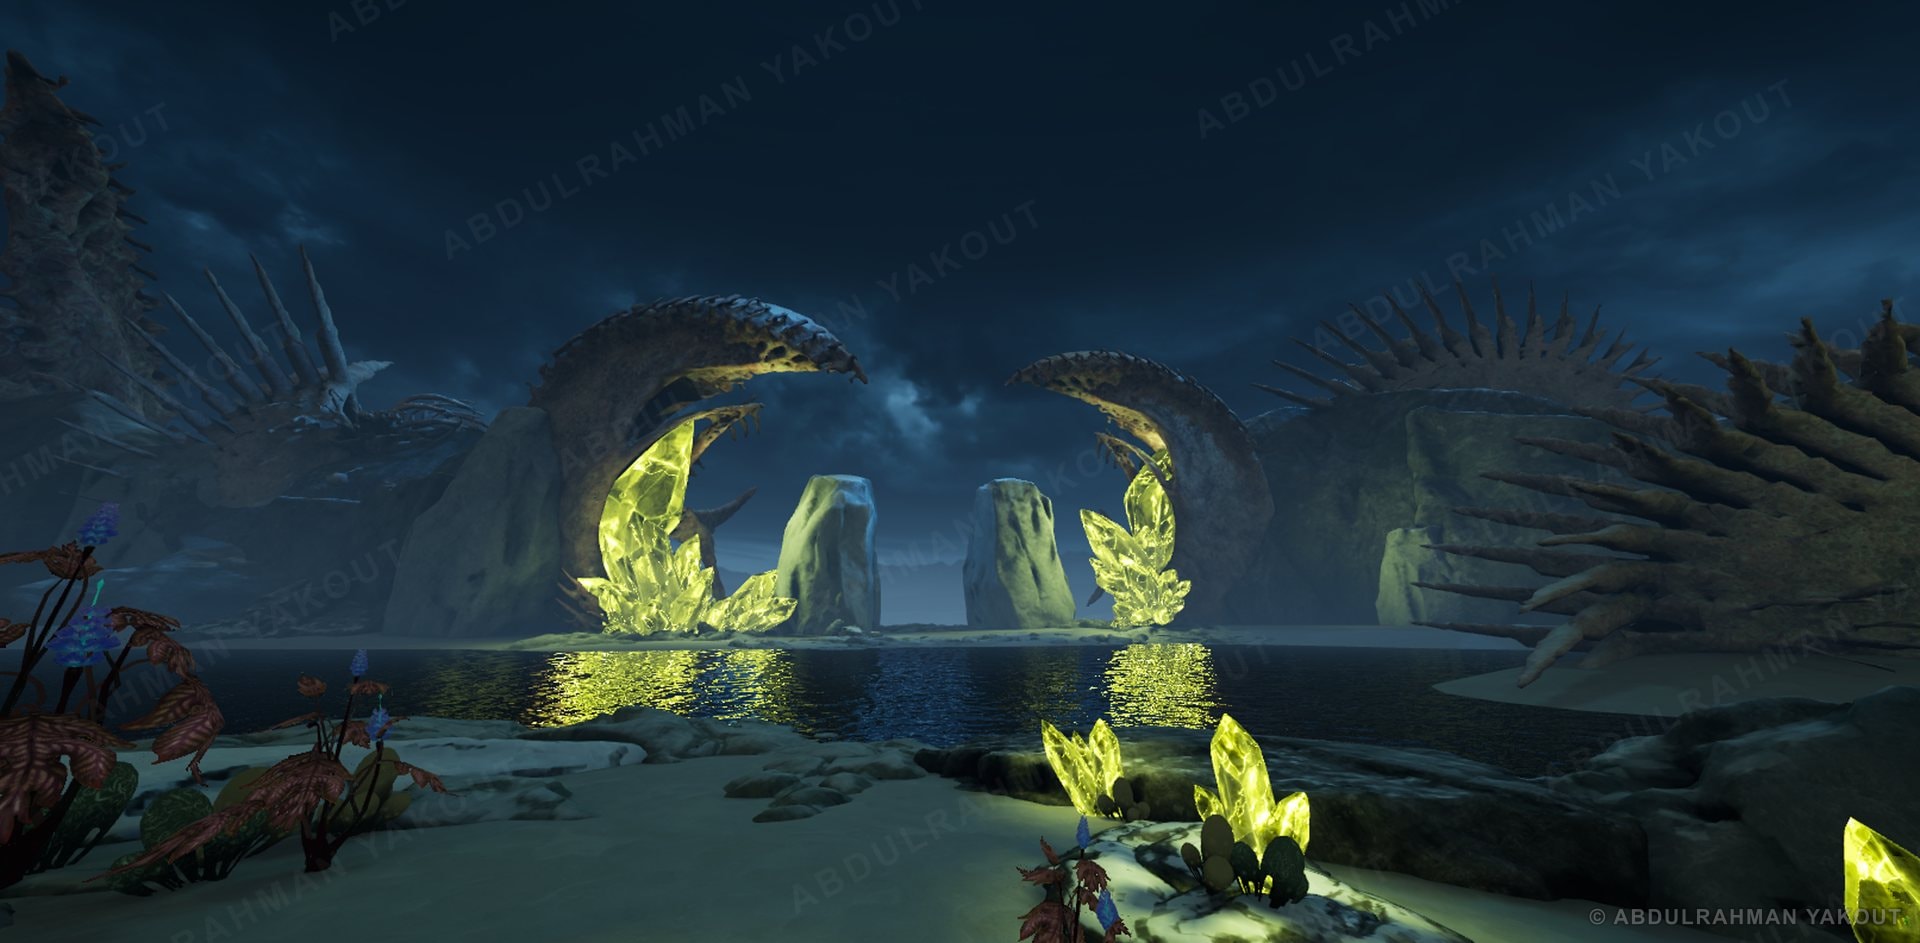
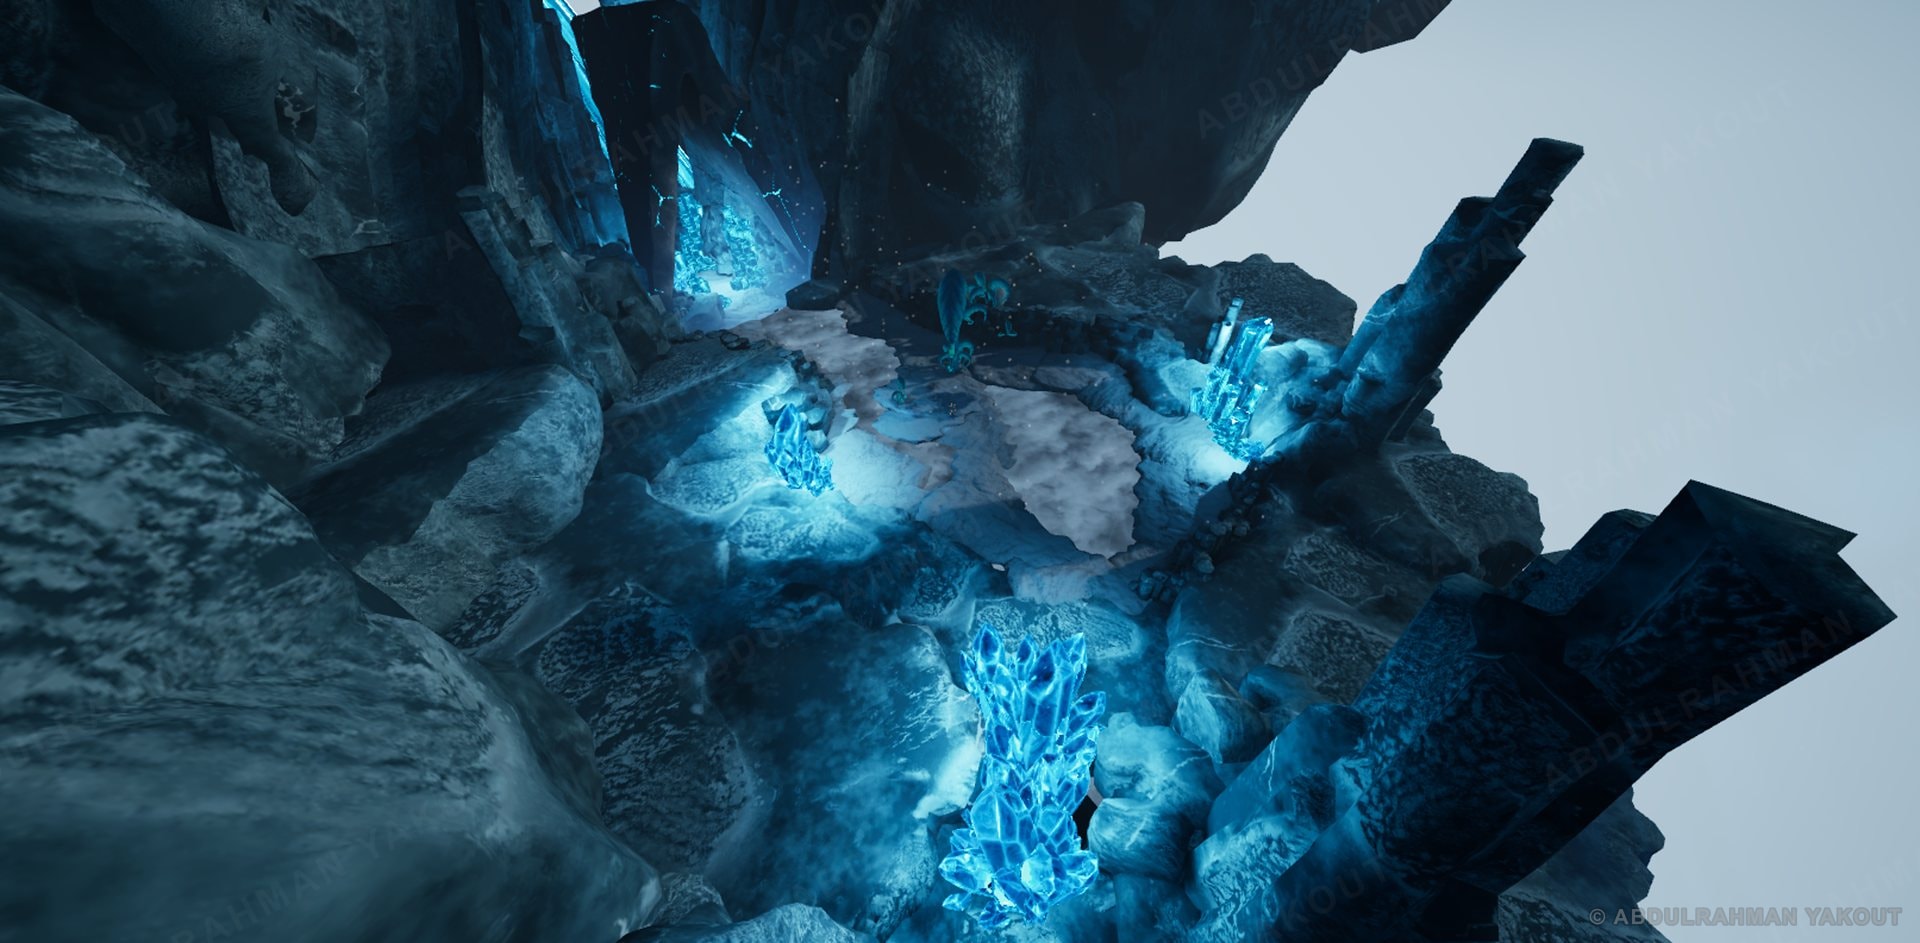
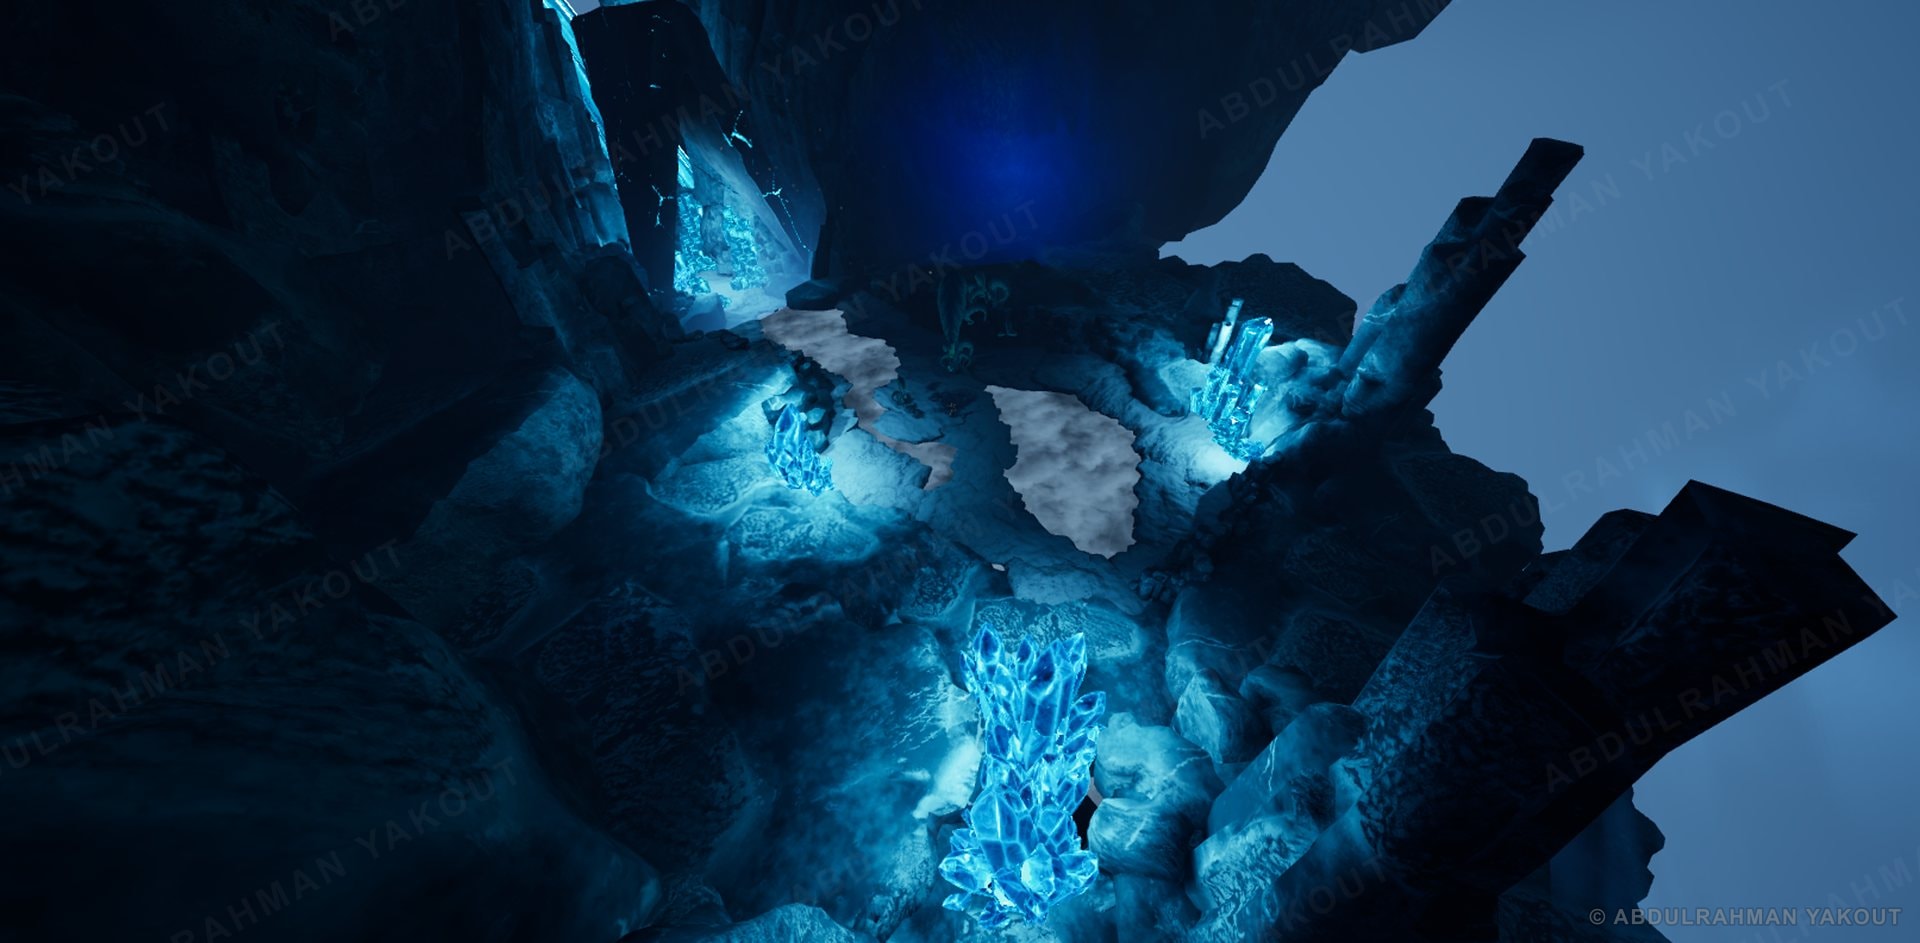
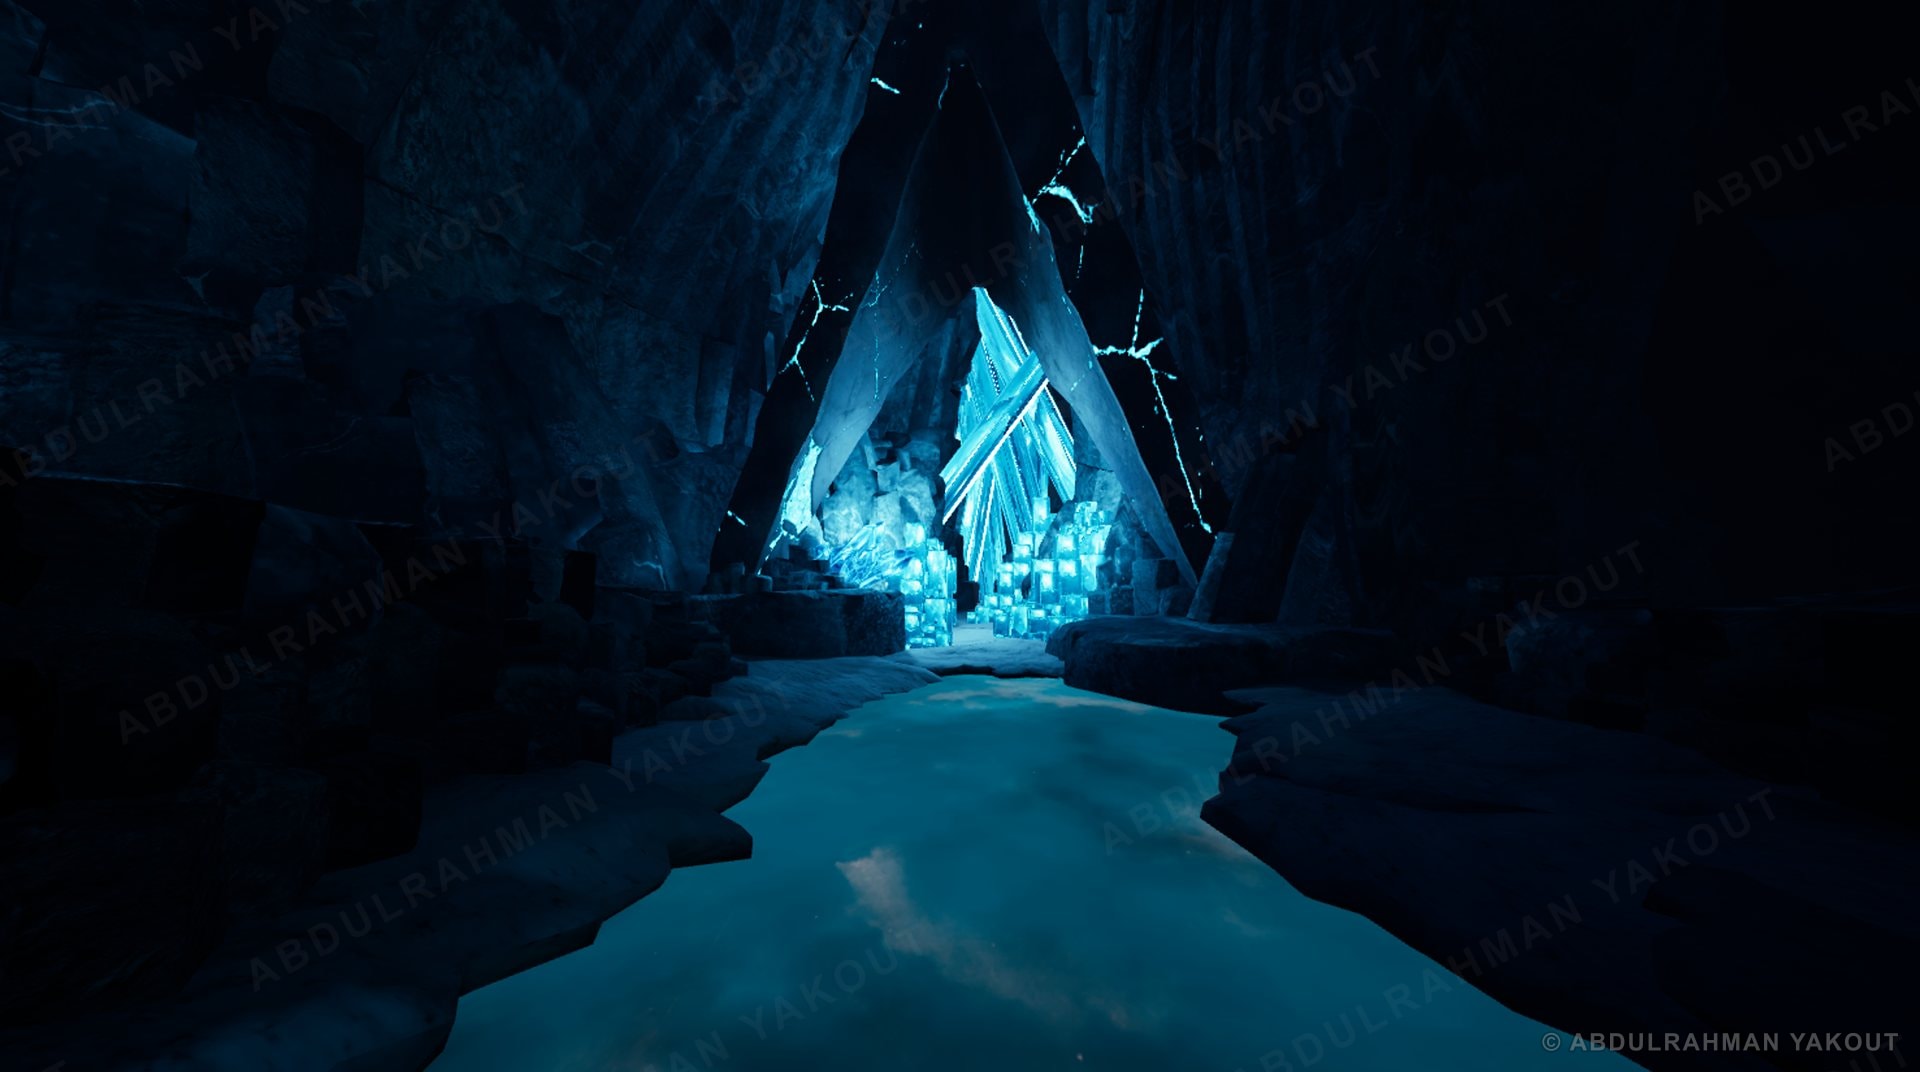
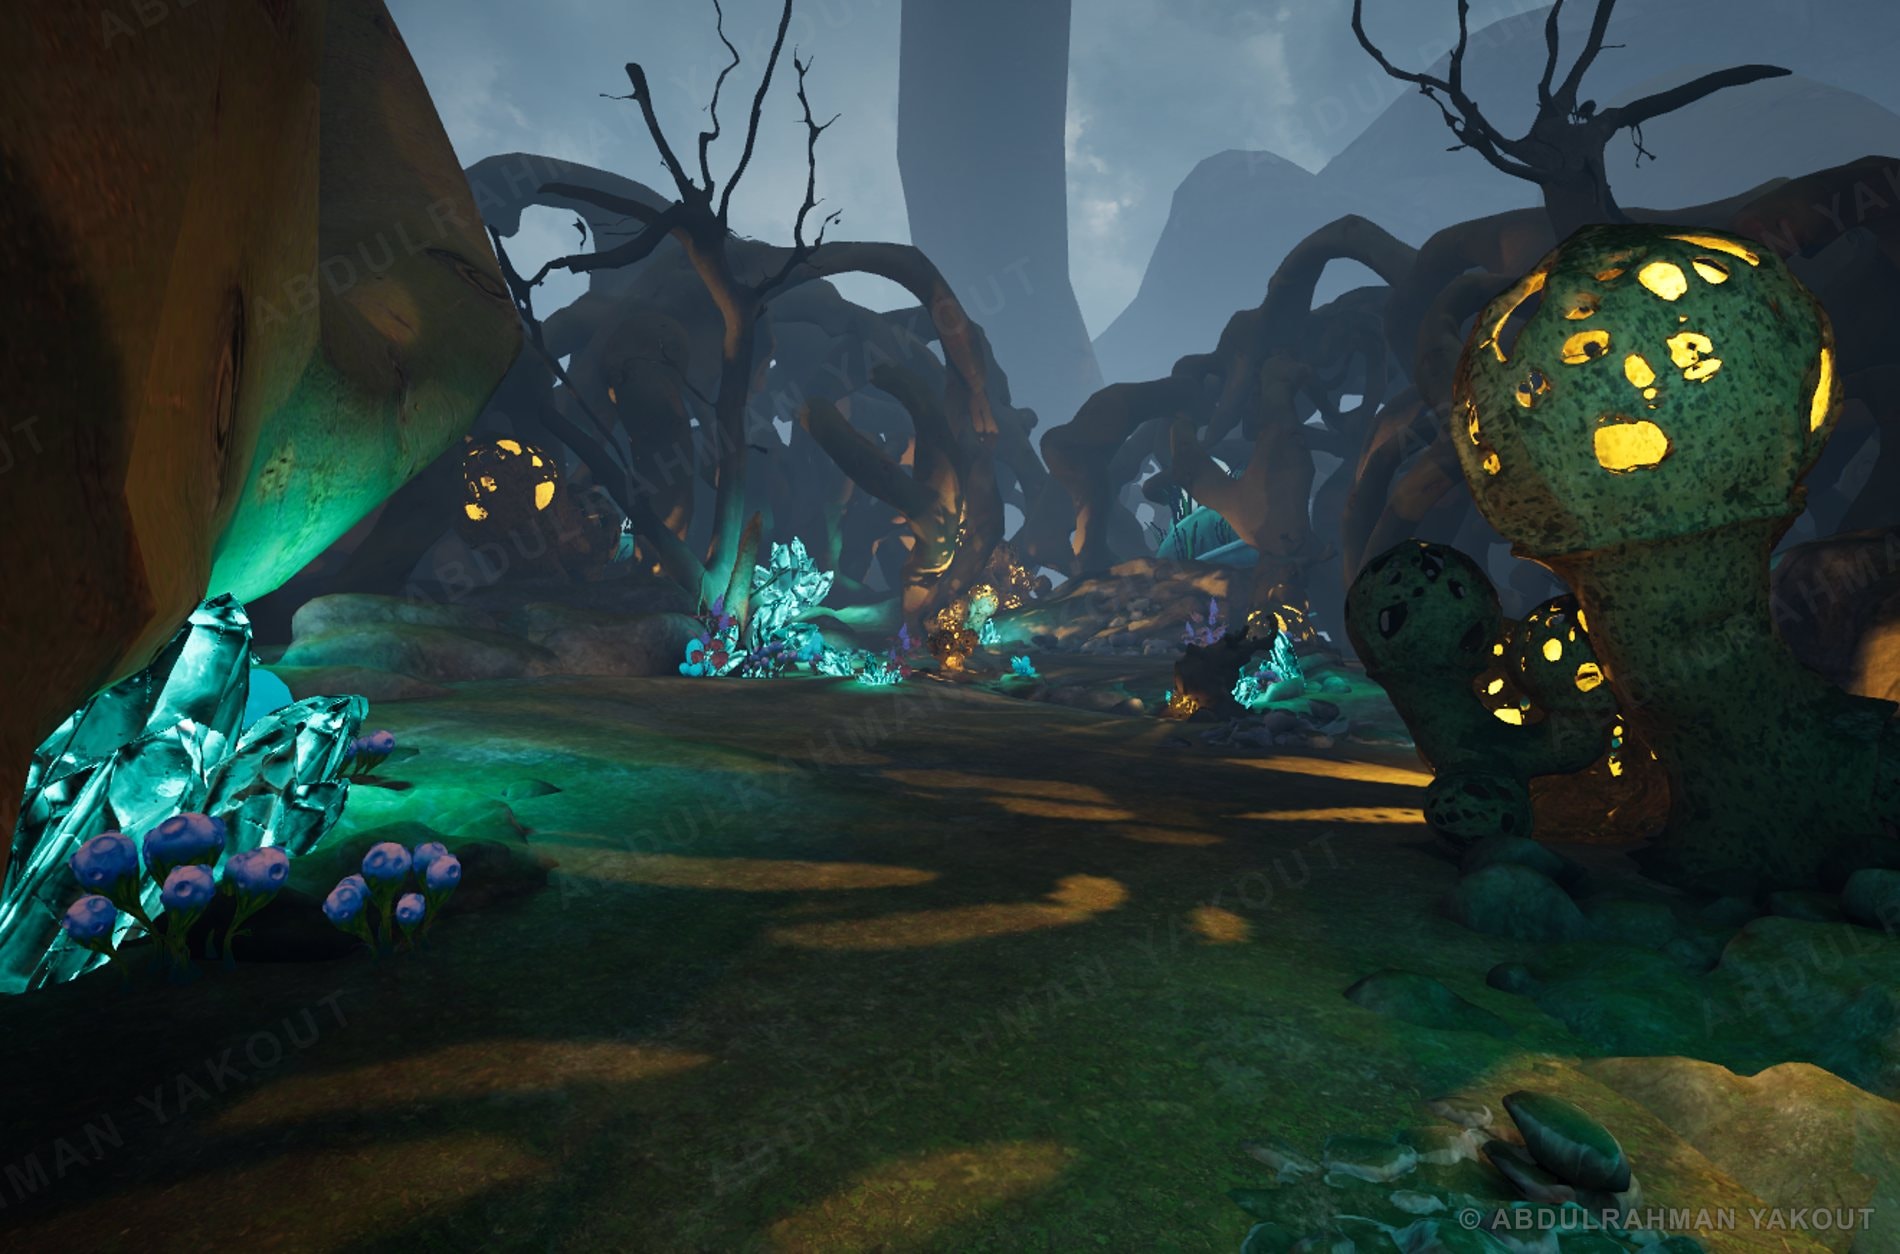
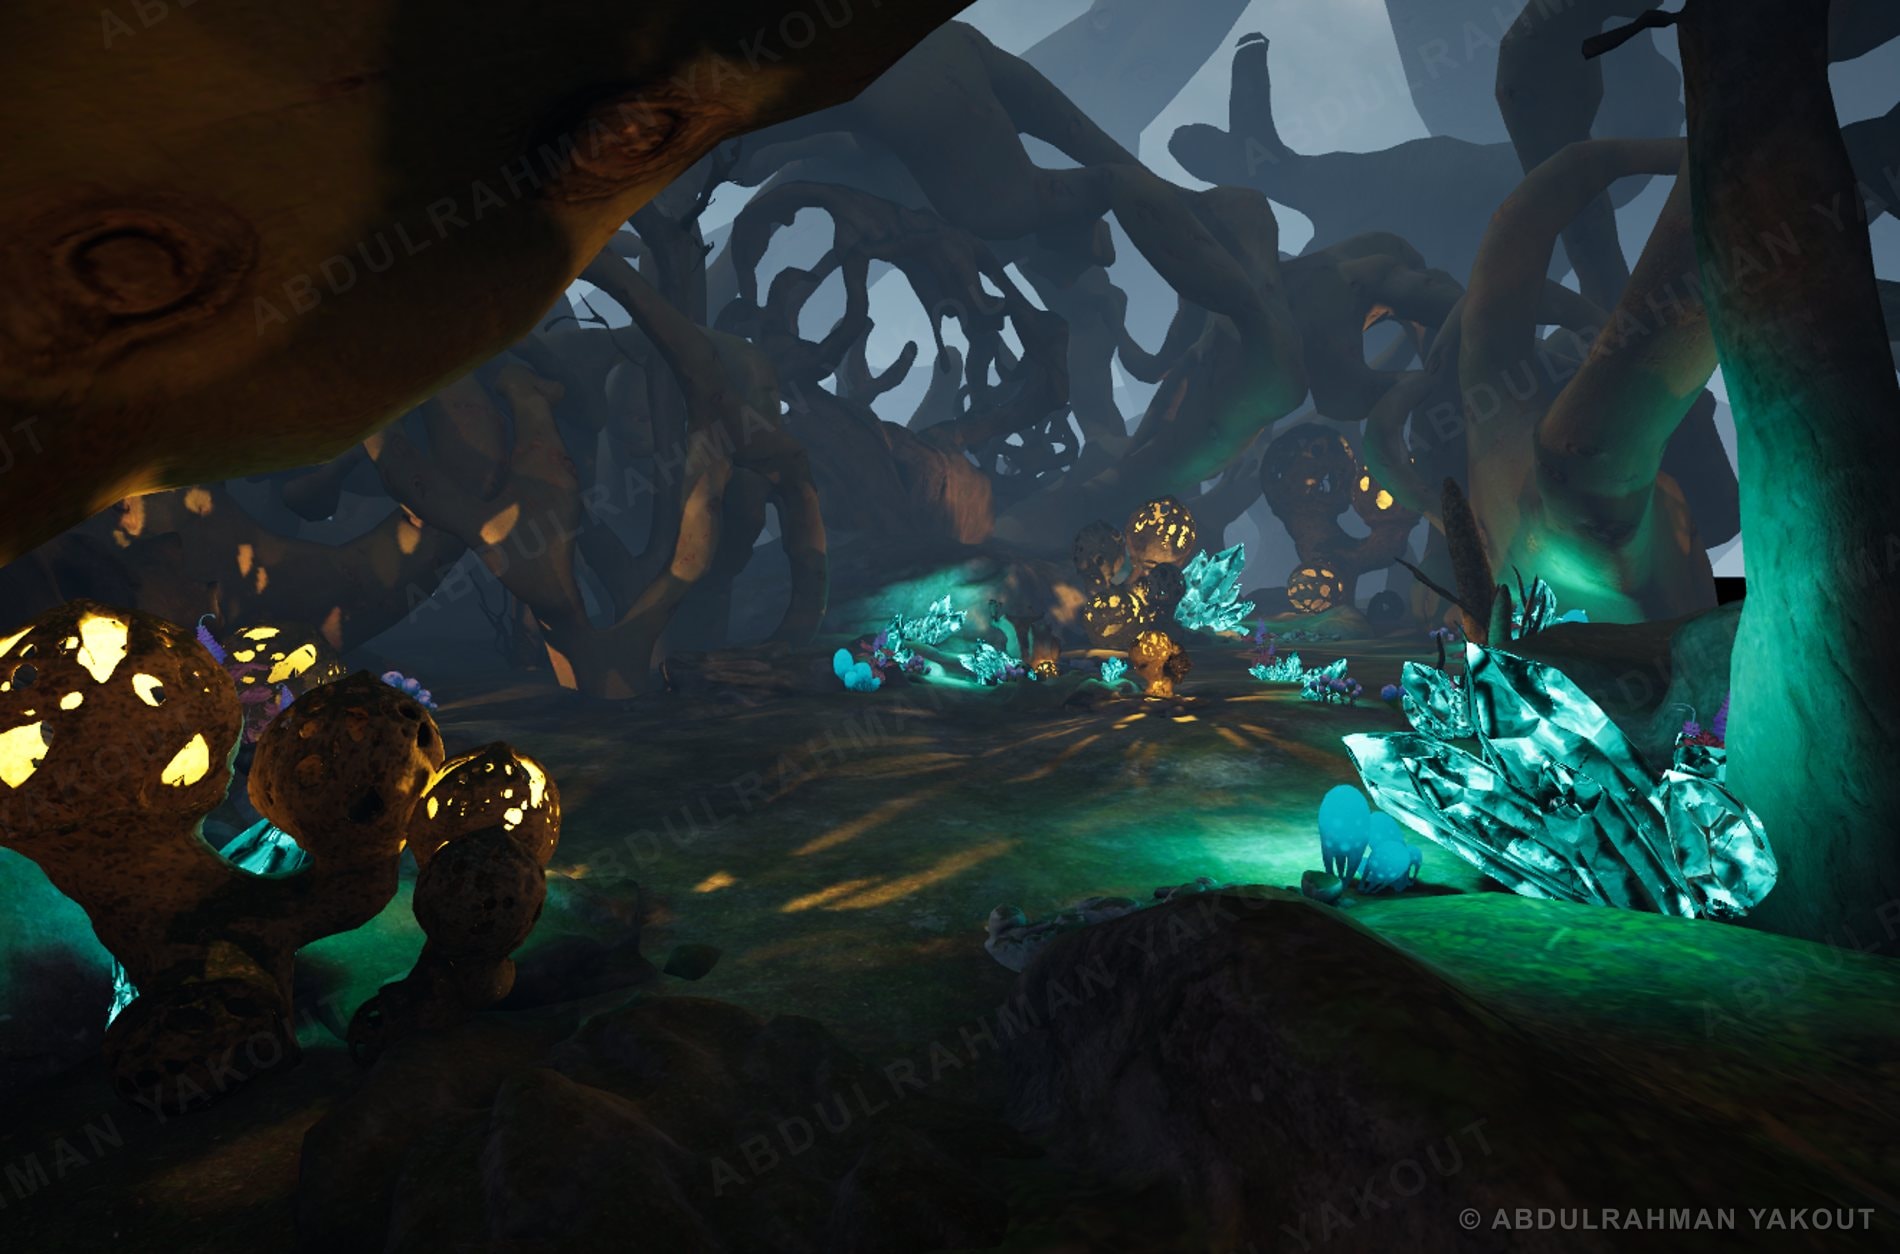
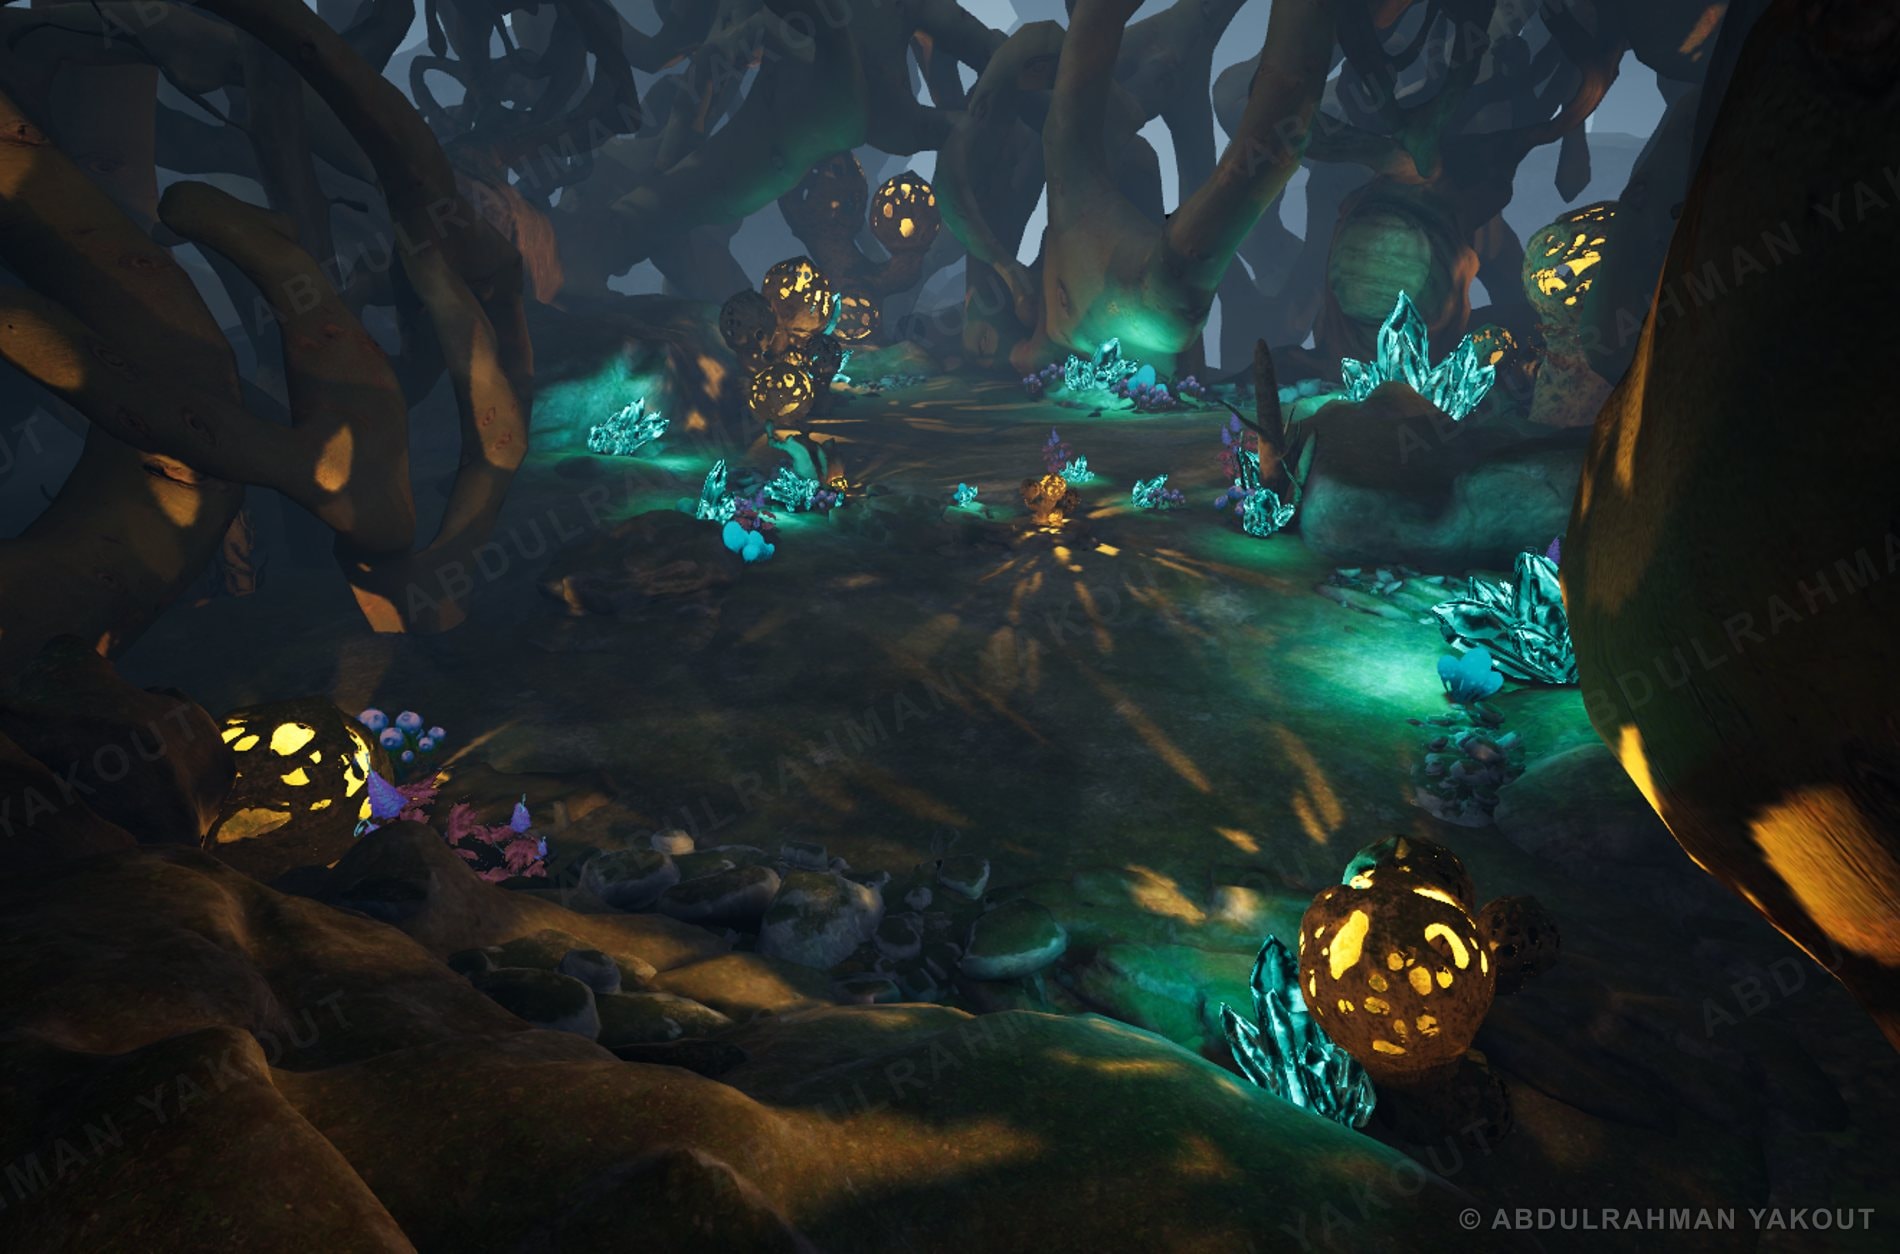
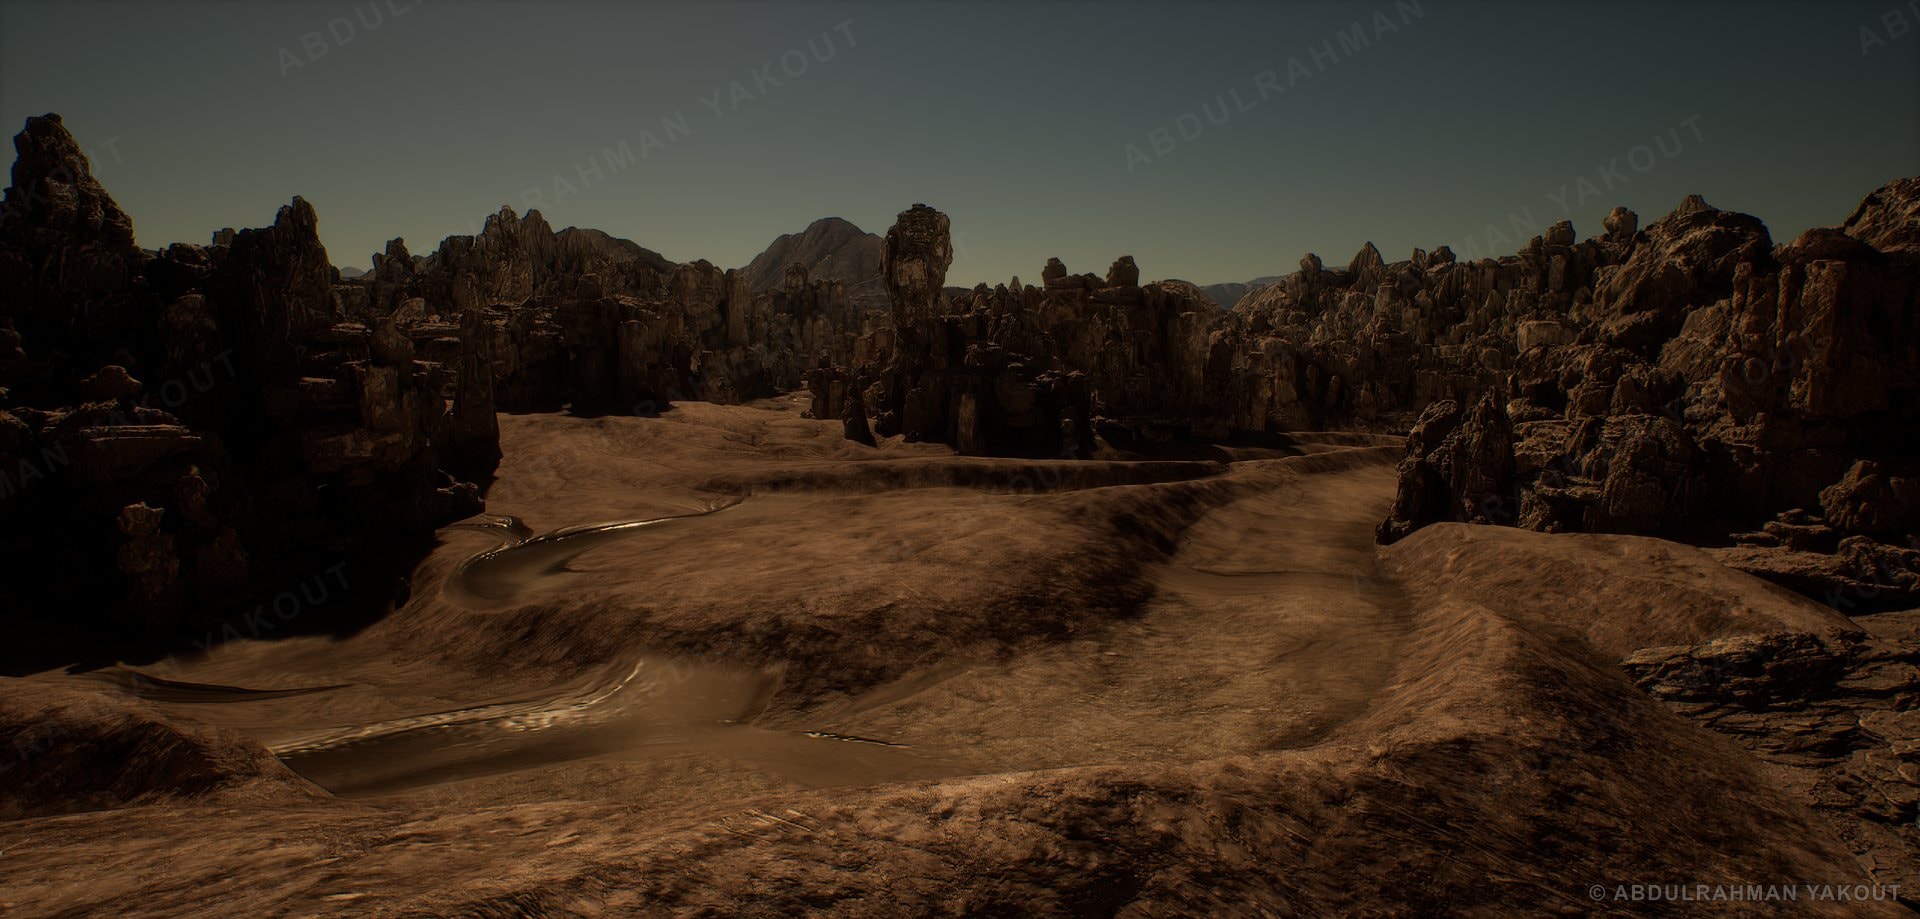
Four environments of about 20 assets each, each with its own lighting, from cinematic to snowy night.

Environments
4
Assets each (about)
20
Assets in total (about)
80
Step 01 / 02

Asset Optimization Cycle

High poly 1.8M tris Low poly 20.9K tris Bake normal map High poly Low poly + UVs Baked normal tangent space UVs laid out on the low poly for baking

The low poly's UVs receive the high poly's detail as a tangent-space normal map.

High to Low Bake
R · Edge mask channel R G · Ambient occlusion channel G B · Slope mask channel B

Each mask is bright where it matters and dark elsewhere. Packed together next, in Texture Packing & Atlasing.

Masks
Edge mask R AO mask G Slope mask B Channel pack 1 texture R G B RGB Packed mask 2K Substance Designer Mask atlas 2K · 4 × 4 1 · Pack the 3 masks2 · One RGB texture3 · Tiled in Substance4 · Tile 8 of 16

Each mask lives in its own channel, so three maps cost one texture sample. Sixteen of these packed textures then become one atlas.

Output
Tile index
Tile index per asset Tile 1 of 16column 0 · row 0 Atlas UV index → UV offset 0.00, 0.00scale 0.25 Mask atlas 2K · 4 × 4 Normal atlas 2K · 4 × 4 Mask tile 512² Normal tile 512² Material Instance Mask Normal

The atlas stays 2K. A 4 × 4 layout gives 512 px tiles; switch to 2 × 2 and each tile becomes 1K, so an asset gets a 1K mask and a 1K normal.
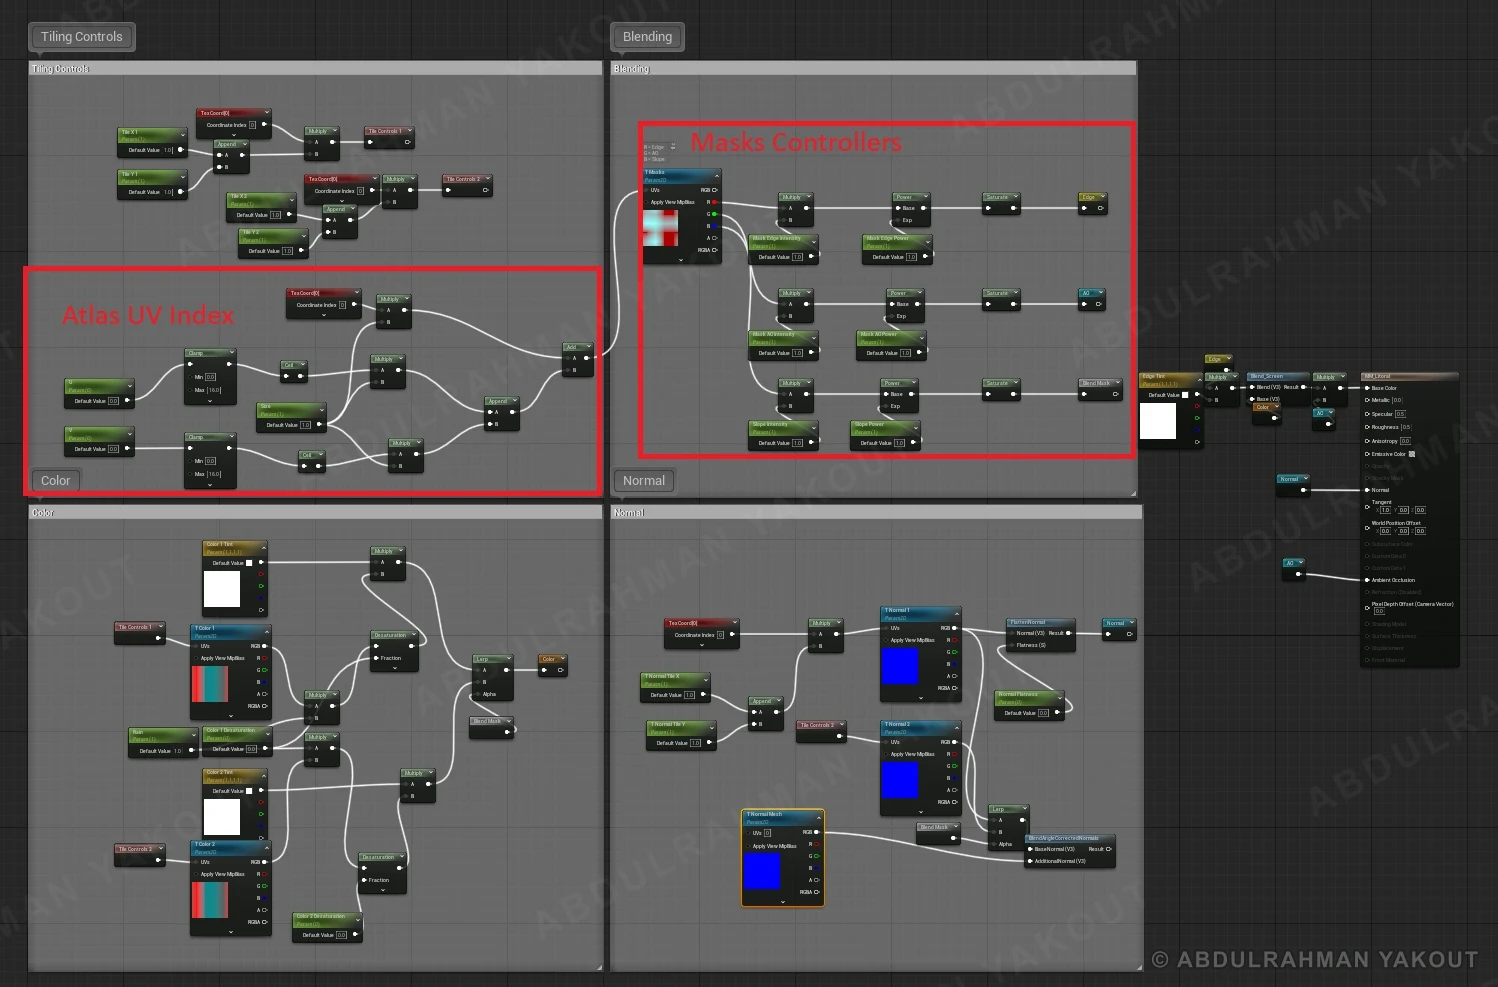
Material — Shader tree
Instruction stats
Instruction stats
Step 01 / 01

Level BP

Blueprint — Blueprint
Step 01 / 01

Material Creation

The graph — The graph
Instruction stats
Instruction stats
Step 01 / 01

Performance Profiling

1 · Profile capture Capture a run on the headsetTrigger the problem (spawn the orb)Frame time first, then the rest 2 · Diagnose read Read the graphs togetherFind what is really being paid forThen inspect the material 3 · Fix change Change one thing at a timeFewer instructions, fewer samplersThen measure again Frame time is the first thing to read. The other graphs explain it.Profile again. Every fix has to show up in the frame time, or it didn't count.

Performance is an orchestra, not one graph.

Profile · Diagnose · Fix

To know what to look at in a profiler, I had to learn how a frame is actually made. This mini book is what I wrote while researching it.

  1. 1Learning path
  2. 2CPU-level micro-operations
  3. 3CPU–GPU connection
  4. 4GPU-level micro-operations
  5. 5Frame creation: CPU role
  6. 6Frame creation: GPU role
  7. 7Lighting techniques and Unreal Engine 5
  8. 8Advanced deferred rendering
Open the book (PDF) ↗
The research
Orb spawn event — Frame time
1 · Frame time: read this first
  • The headset targets 72 fps, about 13.9 ms per frame.
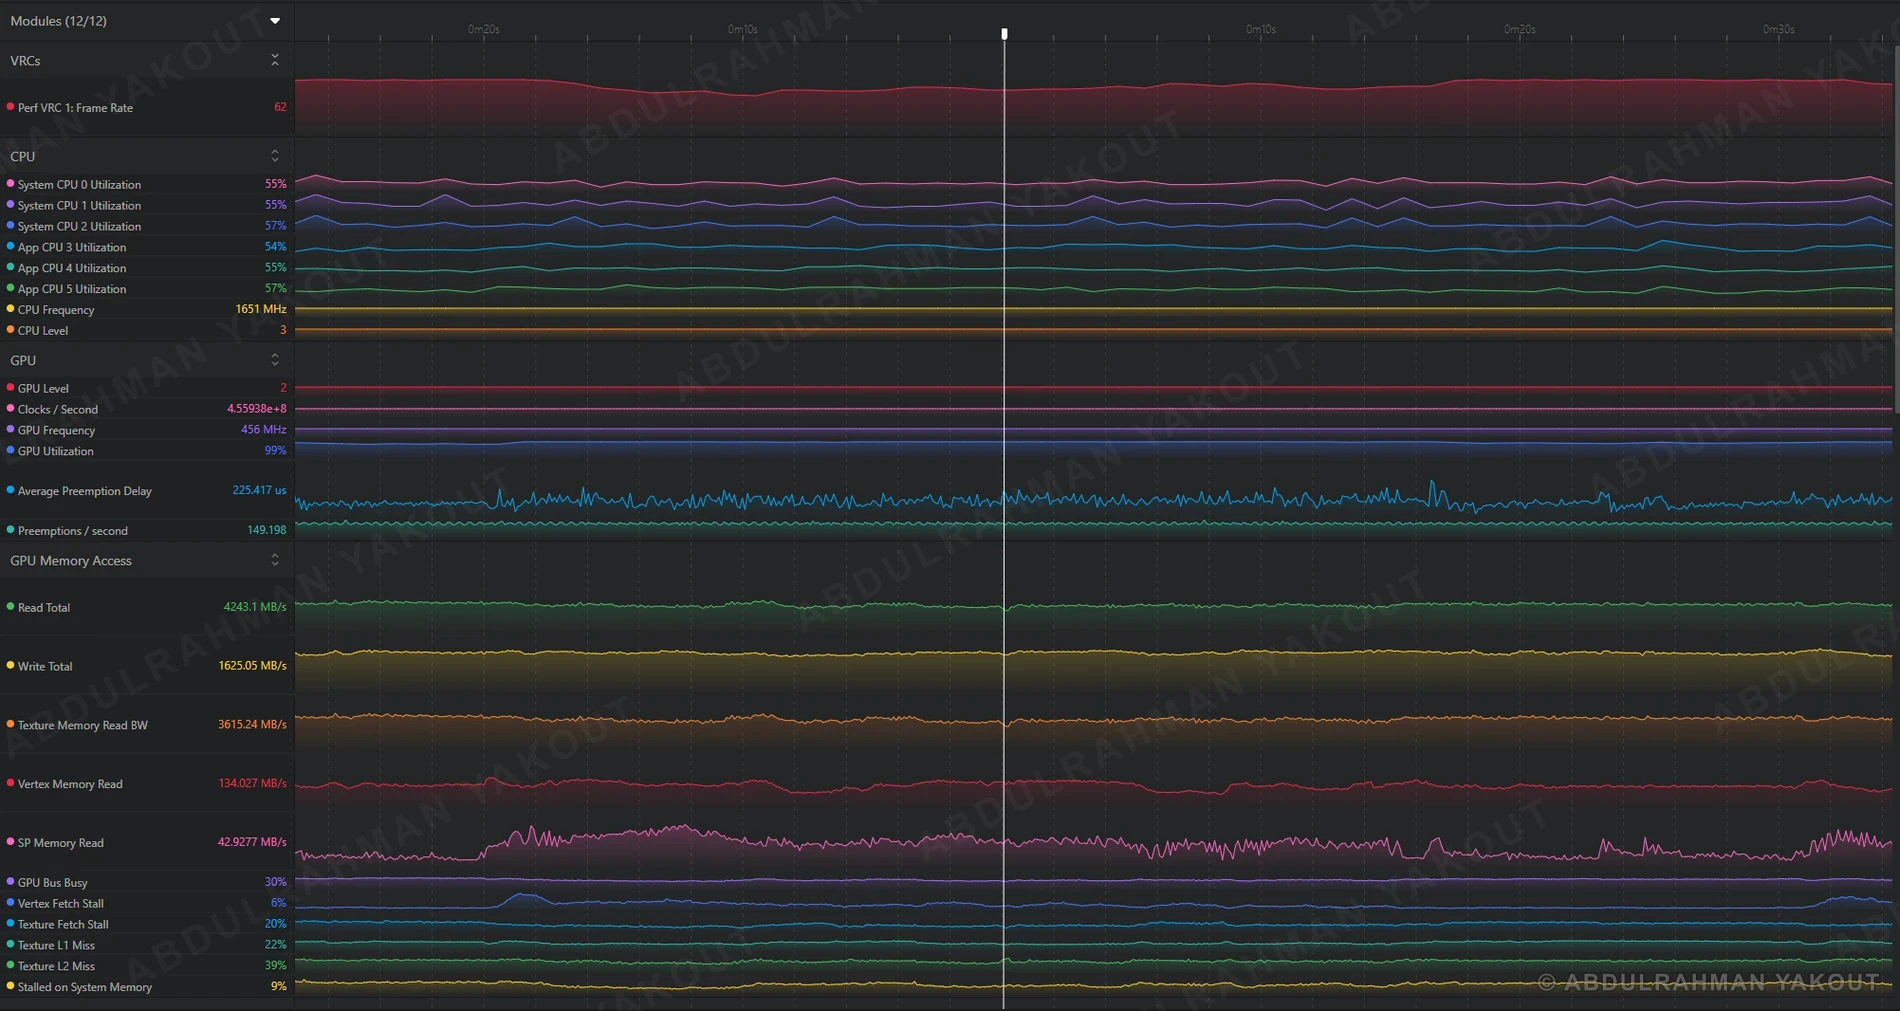
  • When the orb spawns, the frame rate falls to 62 fps.
  • Frame time tells you that there is a problem, not why.
  • The other charts explain the cause.
Orb spawn event — GPU memory
2 · GPU and the SP memory read
  • GPU utilization is at 99%, so the GPU is the bottleneck.
  • SP Memory Read climbs while the orb spawns.
  • SP is the Shader Processor: the cores that run the shaders.
  • SP Memory Read is the data those cores pull from memory while shading.
  • It rises when a shader does more work: more instructions and more texture samplers.

So the spike points at the shader, and the shader belongs to the orb's material.
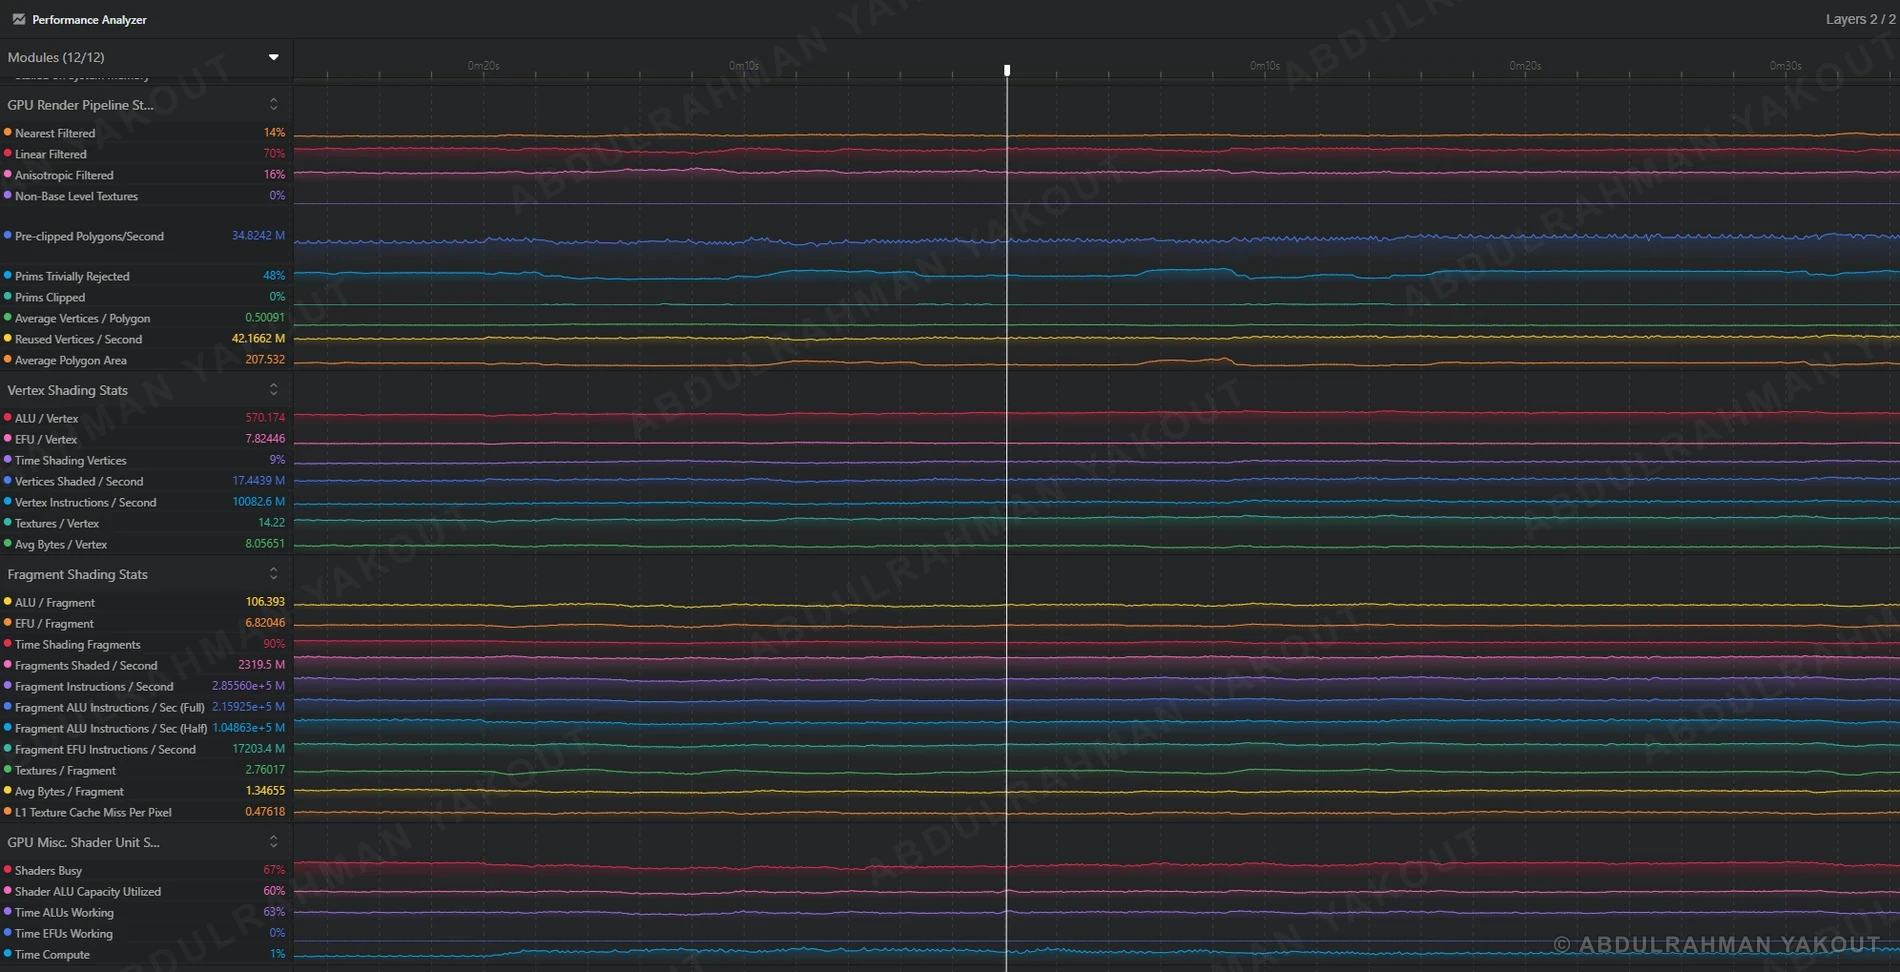
Orb spawn event — Shading
3 · Shading: who is paying
  • 90% of the GPU's time goes to fragment shading.
  • Each fragment costs about 106 ALU operations and 2.8 texture reads.
  • No single chart is the answer. Performance is an orchestra.
  • Read frame time, then the rest of the graphs together.

Verdict: the orb's material is the suspect, so that is what gets fixed.

Profile
Before dynamically lit The fix Instructions 254 → 95Samplers 4 → 1Shaders 95 → 15 After unlit emissive, single pass

Same orb, a much leaner material. The next step proves it.
Fix
Step 01 / 01
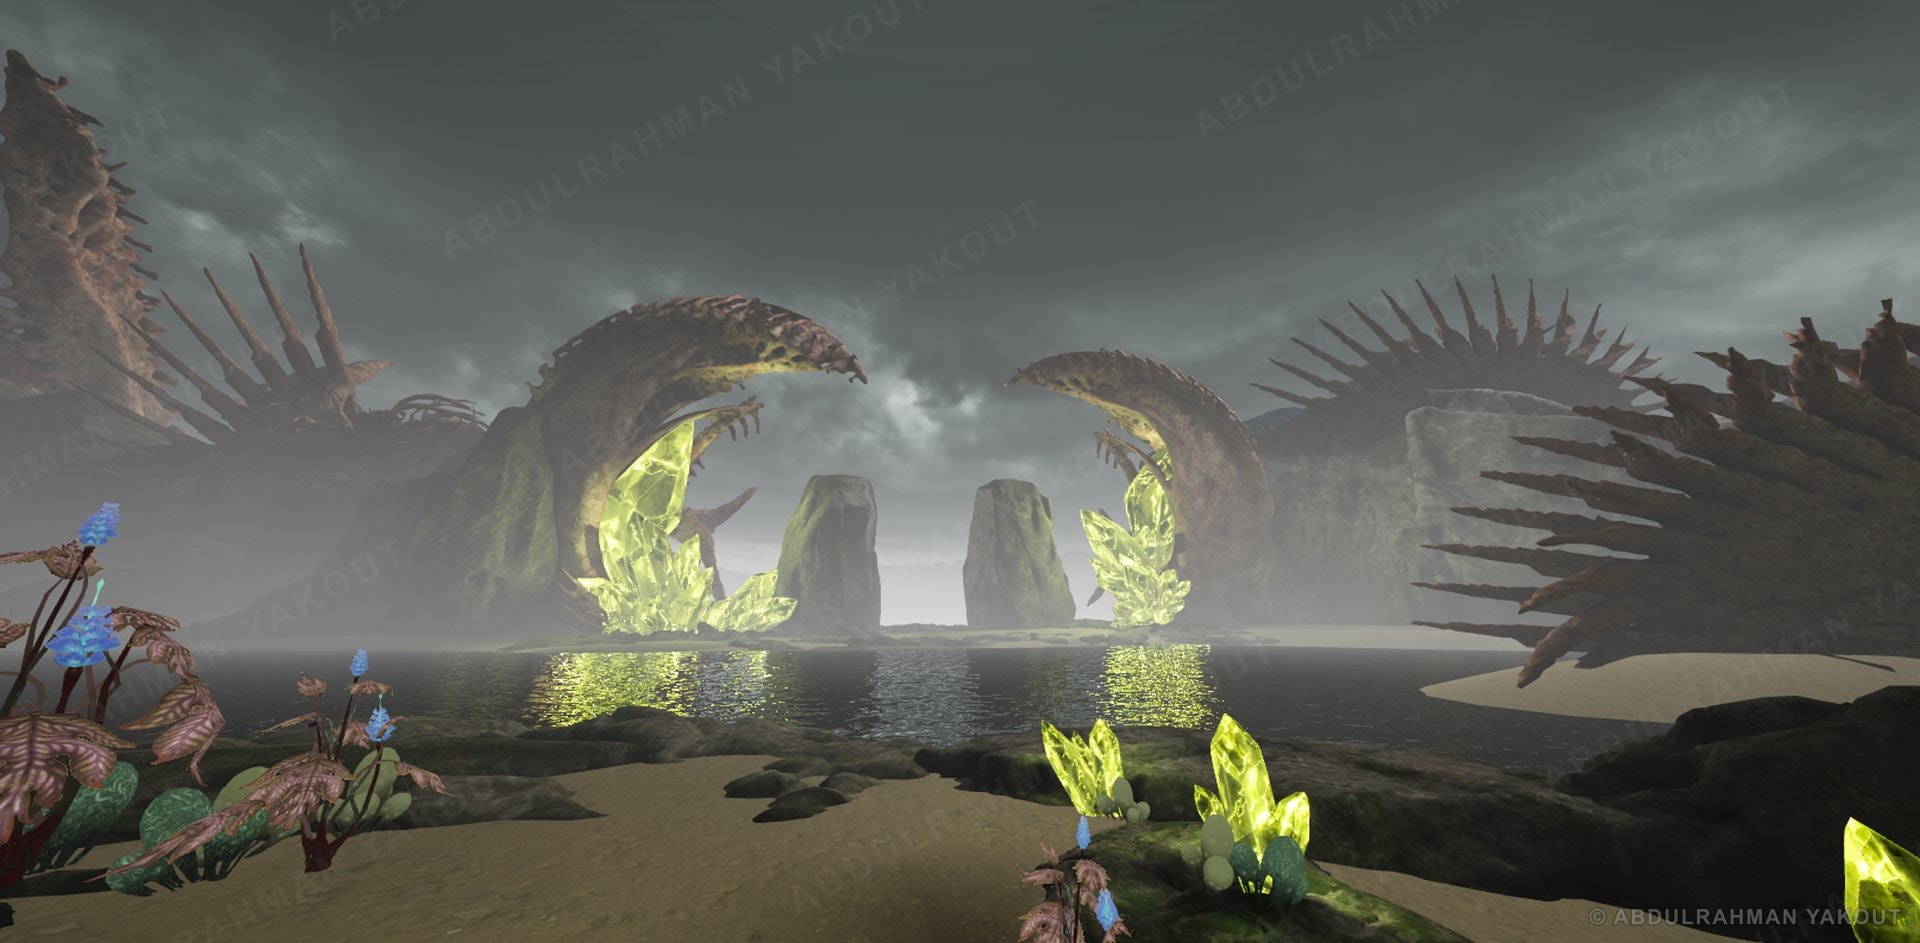
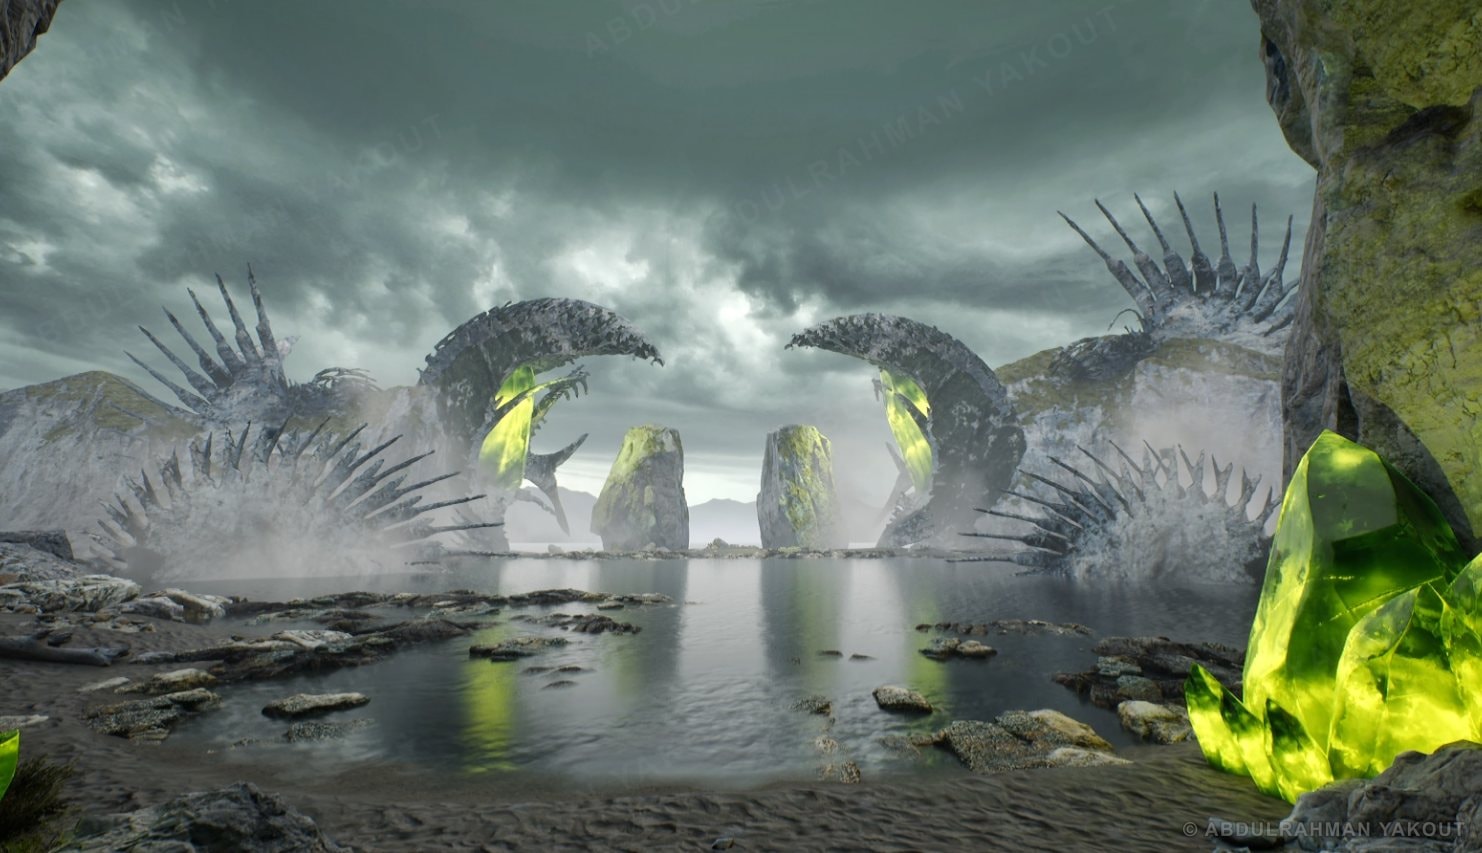
Littoral — CinematicLittoral — DayLittoral — NightLittoral — Snowy DayLittoral — Snowy Night
Cinematic

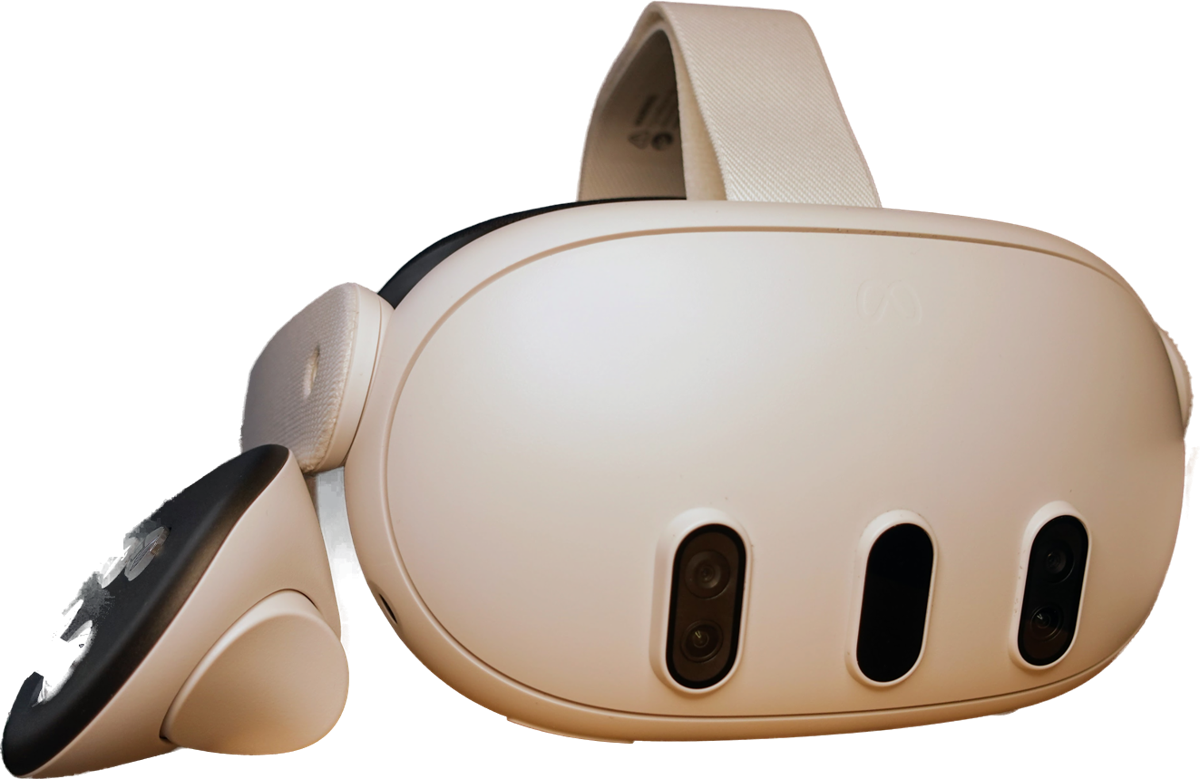
Quest 3 photo: Roy.wonder.cohen, CC BY-SA 4.0